Can You Paint Garage Door Insulation?
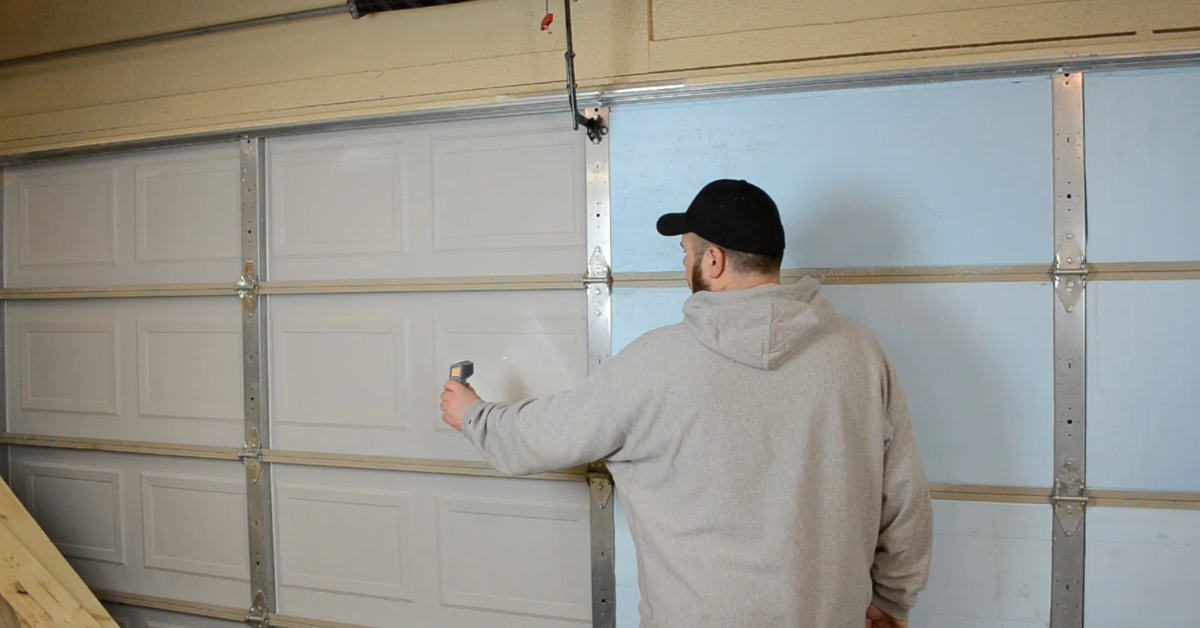
Garage door insulation serves as a protective barrier between the interior of your garage and the external environment. It consists of various materials such as foam board, reflective foil, or fiberglass, which are installed within the panels or cavities of the garage door. The primary function of insulation is to regulate the temperature inside the garage, providing thermal resistance against heat transfer and minimizing energy loss.
Garage door insulation plays a crucial role in maintaining a comfortable and functional garage environment throughout the year. By preventing excessive heat gain in the summer and heat loss in the winter, insulation helps to stabilize temperatures within the garage space. This not only enhances occupant comfort but also protects stored belongings, vehicles, and equipment from extreme temperature fluctuations.
Garage door insulation also contributes to energy efficiency by reducing the workload on heating and cooling systems. With proper insulation, homeowners can minimize energy consumption and lower utility bills, making it a cost-effective investment in the long run.
Purpose of Painting Garage Door Insulation
While the primary purpose of garage door insulation is to provide thermal resistance, painting insulation serves both functional and aesthetic purposes. Painting insulation helps to protect the material from moisture, UV exposure, and wear and tear, prolonging its lifespan and durability. Moreover, painting allows homeowners to customize the appearance of their garage door, complementing the overall aesthetics of their home exterior.
Garage door insulation is essential for maintaining thermal comfort, energy efficiency, and protection for belongings stored in the garage. Painting insulation further enhances its functionality and appearance, making it a valuable addition to any home.
Types of Garage Door Insulation
Foam Board Insulation: Foam board insulation is a popular choice for garage doors due to its excellent thermal resistance properties. It consists of rigid foam panels made from polystyrene or polyurethane materials. These panels are lightweight, easy to install, and provide effective insulation against heat transfer. Foam board insulation helps to regulate the temperature inside the garage, keeping it cooler in the summer and warmer in the winter. Additionally, it can help reduce noise transmission and improve the overall energy efficiency of the garage.
Reflective Foil Insulation:
Reflective foil insulation, also known as radiant barrier insulation, is designed to reflect radiant heat rather than absorb it. It typically consists of a layer of reflective foil laminated to a substrate material such as polyethylene or kraft paper. Reflective foil insulation is installed with the reflective side facing the interior of the garage, where it reflects heat away from the surface, keeping the space cooler. This type of insulation is particularly effective in hot climates or garages exposed to direct sunlight.
Fiberglass Insulation:
Fiberglass insulation is another common option for garage doors, known for its affordability and versatility. It is made from fine glass fibers compressed into batts or rolls, providing excellent thermal insulation properties. Fiberglass insulation is easy to install and offers good resistance against heat transfer, helping to maintain comfortable temperatures inside the garage. Additionally, fiberglass insulation is resistant to moisture and mold growth, making it suitable for humid environments.
Benefits of Painting Garage Door Insulation
Enhanced Durability
Painting garage door insulation can significantly enhance its durability and longevity. The paint forms a protective barrier over the insulation material, shielding it from moisture, UV exposure, and physical damage. This helps prevent deterioration and extends the lifespan of the insulation, ensuring long-term effectiveness in regulating temperatures and reducing energy costs.
Improved Aesthetics
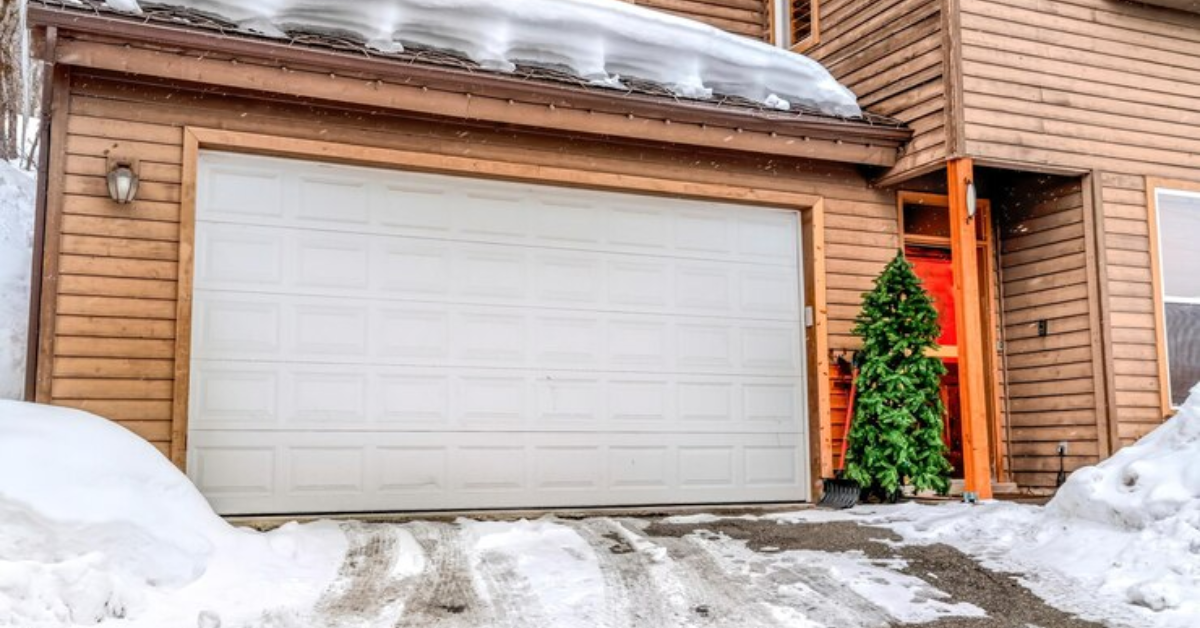
Painting garage door insulation allows homeowners to customize the appearance of their garage door to match their home's exterior. With a wide range of paint colors and finishes available, homeowners can achieve the desired aesthetic appeal, enhancing the curb appeal of their property. Whether opting for a bold accent color or a subtle blend with the surrounding facade, painting insulation adds a touch of style and sophistication to the garage door.
Protection Against Elements
In addition to enhancing durability and aesthetics, painting garage door insulation provides an extra layer of protection against the elements. The paint helps seal the insulation material, preventing moisture infiltration and reducing the risk of mold growth or decay. It also acts as a barrier against UV radiation, preventing the insulation from degrading over time due to sun exposure. By painting garage door insulation, homeowners can ensure optimal performance and protection against environmental factors for years to come.
Considerations Before Painting Garage Door Insulation
Material Compatibility: Before painting garage door insulation, it's essential to ensure that the paint is compatible with the insulation material. Different types of insulation, such as foam board, reflective foil, or fiberglass, may require specific types of paint for optimal adhesion and durability. Consult the manufacturer's recommendations or test a small area of the insulation with the chosen paint to ensure compatibility and prevent any adverse reactions.
Paint Selection:
Selecting the right paint is crucial for achieving a durable and attractive finish on garage door insulation. Choose a high-quality exterior paint that is suitable for the material of the insulation and provides excellent coverage and adhesion. Consider factors such as weather resistance, UV protection, and colorfastness to ensure long-lasting results. Additionally, opt for a paint color that complements the overall aesthetic of your home's exterior for a cohesive look.
Surface Preparation:
Proper surface preparation is key to achieving a smooth and long-lasting paint finish on garage door insulation. Start by cleaning the surface of the insulation thoroughly to remove any dirt, dust, or debris that may affect paint adhesion. Use a mild detergent solution and a soft brush or cloth to scrub the surface gently. Allow the insulation to dry completely before proceeding to the next step to ensure optimal paint adhesion and durability.
Step-by-Step Guide to Painting Garage Door Insulation
Cleaning the Surface
- Begin by cleaning the surface of the garage door insulation using a mild detergent solution and a soft brush or cloth. Scrub the surface gently to remove any dirt, dust, or debris that may interfere with paint adhesion. Rinse the insulation thoroughly with clean water and allow it to dry completely before proceeding to the next step.
Applying Primer (if necessary)
- Depending on the type of paint and the condition of the insulation, applying a primer may be necessary to promote adhesion and enhance durability. Choose a high-quality primer that is compatible with both the insulation material and the chosen paint. Apply the primer evenly to the surface of the insulation using a brush or roller, following the manufacturer's instructions. Allow the primer to dry completely before proceeding to the next step.
Painting the Insulation
- Once the primer is dry, it's time to paint the garage door insulation. Stir the paint thoroughly to ensure uniform consistency, and pour it into a paint tray. Use a brush or roller to apply the paint evenly to the surface of the insulation, working in smooth, overlapping strokes. Take care to cover the entire surface with an even coat of paint, paying attention to any crevices or recessed areas. Allow the first coat of paint to dry completely before applying additional coats as needed to achieve the desired coverage and finish.
Drying and Curing Time
- After painting the garage door insulation, allow the paint to dry and cure fully before handling or exposing it to the elements. Follow the manufacturer's recommendations for drying and curing time, which may vary depending on factors such as temperature, humidity, and the type of paint used. Avoid touching or placing any objects on the painted insulation until it has fully cured to prevent damage or smudging.
Tips for Achieving Best Results
Use High-Quality Paint: Investing in high-quality paint is essential for achieving a durable and attractive finish on garage door insulation. Choose an exterior-grade paint that is specifically formulated for the material of the insulation and provides excellent coverage, adhesion, and weather resistance. Quality paint will ensure long-lasting results and protect the insulation from the elements.
Apply Multiple Thin Coats:
Instead of applying a single thick coat of paint, opt for multiple thin coats to achieve a smooth and even finish. Thin coats of paint dry more quickly and are less likely to drip or sag, resulting in a professional-looking paint job. Allow each coat to dry completely before applying the next one, and use a brush or roller to ensure even coverage.
Allow Sufficient Drying Time:
Patience is key when painting garage door insulation. Allow each coat of paint to dry fully before handling or applying additional coats. Follow the manufacturer's recommendations for drying time, which may vary depending on factors such as temperature, humidity, and the type of paint used. Rushing the drying process can result in uneven drying, smudging, or other imperfections in the paint finish.
Common Mistakes to Avoid
- Using the wrong type of paint can lead to poor adhesion, premature peeling, or other paint failures. Make sure to choose a paint that is compatible with the material of the insulation and suitable for exterior use. Consult the manufacturer's recommendations or seek advice from a paint specialist to ensure you select the correct paint type for your project.
- Applying a thick coat of paint may seem like a time-saving measure, but it can result in uneven coverage, drips, and sagging. Thick layers of paint take longer to dry and are more prone to cracking or peeling over time. Instead, apply multiple thin coats of paint to achieve a smooth and even finish, allowing each coat to dry completely before applying the next one.
- Proper surface preparation is essential for achieving a successful paint finish on garage door insulation. Skipping surface preparation steps such as cleaning and priming can result in poor paint adhesion, uneven coverage, and premature paint failure. Take the time to clean the surface of the insulation thoroughly, remove any dirt or debris, and apply a primer if necessary to promote adhesion and durability.
Conclusion
Painting garage door insulation offers a range of benefits, including enhanced durability, improved aesthetics, and protection against the elements. By choosing high-quality paint, applying multiple thin coats, and allowing sufficient drying time, homeowners can achieve a professional-looking finish that not only enhances the appearance of their garage door but also extends the lifespan of the insulation. Overall, painting garage door insulation is a simple yet effective way to enhance both the functionality and curb appeal of any home.


