How to Adjust Automatic Garage Door Closer?
An automatic garage door closer is one of those modern conveniences that offers both safety and peace of mind. Whether you’re preventing energy loss, enhancing home security, or just avoiding the worry of forgetting to close the garage door, this device plays a crucial role. But over time, your automatic closer may need adjustments—whether it's closing too fast, too slow, or not closing properly at all.
If you're wondering how to adjust an automatic garage door closer, this article will walk you through everything you need to know. We’ll cover when adjustments are necessary, how to safely perform them, and common troubleshooting tips. The goal? A fully functional garage door that closes just the way it should.
Why Adjusting Your Garage Door Closer Is Important
A properly adjusted garage door closer ensures:
- Smooth and secure closure of the door.
- Prevention of unnecessary wear and tear on your garage door system.
- Improved safety by avoiding accidental slamming or delayed closing.
- Energy efficiency by preventing drafts and heat loss.
When your garage door doesn’t close properly or delays excessively, it could be due to settings on the closer that are out of sync. Adjusting these settings can restore functionality without requiring costly repairs or replacements.
Signs Your Automatic Garage Door Closer Needs Adjustment
Before you get started, check if your garage door is showing any of the following signs:
- The door closes too quickly, possibly slamming shut.
- The door closes too slowly or hesitates.
- It doesn't close all the way or reverses before fully closing.
- The timing delay is either too short or too long.
Recognizing these symptoms early can help you avoid larger problems and keep your garage door system running smoothly.
Understanding the Basics of Garage Door Closers
Automatic garage door closers typically have adjustable settings for:
- Closing speed
- Closing force
- Delay time
Some models may also have safety sensors and auto-reverse features. The adjustment methods can vary depending on whether your system is chain-driven, belt-driven, or screw-driven. Be sure to check the manufacturer’s manual specific to your garage door closer for accurate instructions.
How to Adjust Automatic Garage Door Closer
Follow these steps to fine-tune your closer safely and effectively:
1. Disconnect Power for Safety
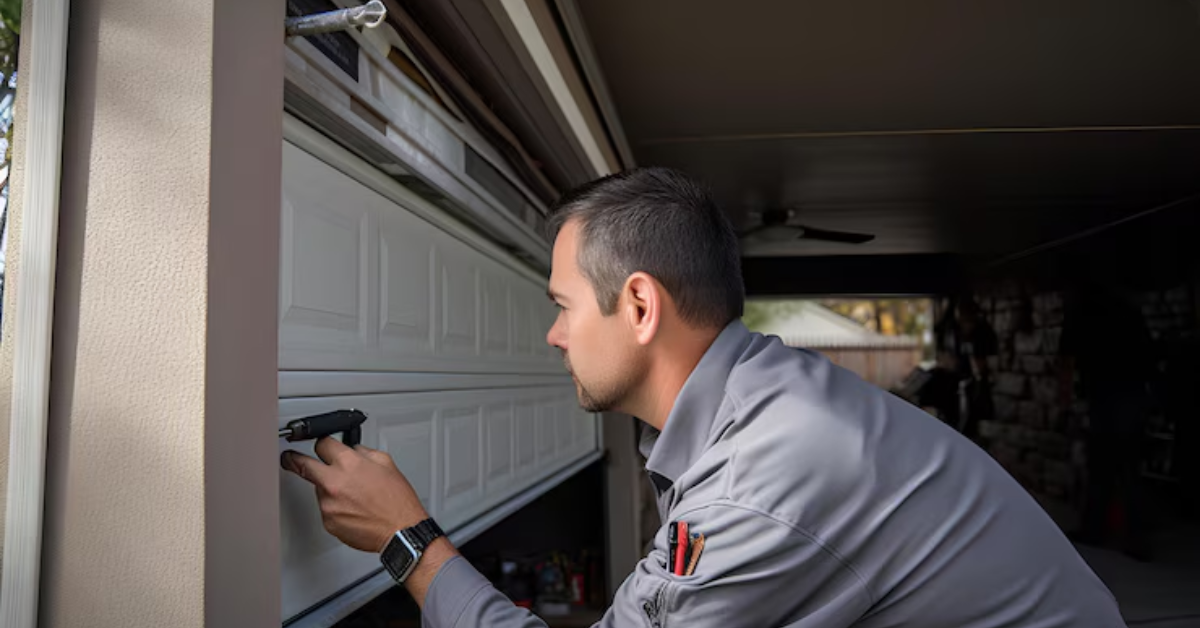
Before making any adjustments, unplug the garage door opener or turn off the breaker to prevent accidental activation during the process.
2. Locate Adjustment Screws or Dials
Most automatic closers have labeled dials for force, speed, and delay time. These are often found on the side or back panel of the unit.
3. Adjust Closing Speed
If the door is closing too fast or slow, look for a dial labeled “Speed” or “Close Speed.” Turning it clockwise usually increases speed, while counterclockwise slows it down. Make small adjustments, then test the door to see the effect.
4. Adjust Closing Force
If your door doesn’t close completely or reverses, you may need to adjust the closing force. This setting controls how much power is used to close the door. Increasing the force can help the door close fully but should be done carefully to avoid damaging the door or motor.
5. Modify the Delay Time
Automatic closers usually come with a delay setting that controls how long the system waits before closing after activation. If your door closes too quickly after you drive out, adjust the “Delay” dial to increase the timer. A common setting is between 30 seconds and 3 minutes.
6. Reconnect Power and Test
Once adjustments are made, plug the opener back in and test the garage door. Use the wall button or remote to trigger the closer and observe the operation. Make sure the door closes at a safe speed and completely seals the opening.
What to Do If Your Adjustments Don’t Work
If adjusting the settings doesn’t resolve the issue, here are a few things to check:
- Inspect safety sensors to ensure they’re aligned and free from obstructions.
- Check the tracks for debris or damage.
- Lubricate moving parts like rollers and hinges for smoother operation.
- Reset the opener according to the manufacturer’s instructions if it's not responding.
In some cases, if you’ve tried multiple adjustments and the door still doesn’t behave correctly, it may be time to consult a professional technician or replace the garage door closer altogether.
Final Thoughts
Knowing how to adjust your automatic garage door closer can save you time, money, and hassle. Whether it’s the speed, force, or timing, a properly calibrated system improves functionality and extends the life of your garage door. Remember to always follow safety precautions and make small, incremental changes when adjusting settings.
Regular maintenance and timely adjustments will ensure your garage door works flawlessly year-round—giving you peace of mind every time you leave or return home. For more home improvement tips and how-to guides, stay tuned to trusted resources, and always refer to your model's manual for system-specific instructions.


