How to Install an Automatic Garage Door?
Installing an automatic garage door can significantly enhance your home’s convenience, security, and overall value. Whether you’re upgrading from a manual system or replacing an old door, knowing how to install an automatic garage door properly ensures smooth functionality and long-lasting performance. While this task may seem complex, it can be accomplished successfully with the right tools, some patience, and a solid understanding of the process.
In this guide, you’ll learn how to install an automatic garage door from start to finish, including useful tips that help you avoid common mistakes and ensure safe, reliable operation.
Why Choose an Automatic Garage Door?
Automatic garage doors offer a blend of safety, ease, and modern convenience. With a push of a button or a tap on your smartphone, you can open or close your garage from a distance. These doors are also more secure than manual ones, often including features like rolling-code technology, motion detection, and backup batteries for power outages. If you’re a homeowner looking to upgrade your garage, installing an automatic door is a smart, future-proof choice.
Things to Consider Before Installation
Before diving into installation, there are several key factors to keep in mind:
- Door Size and Type: Measure your garage opening to ensure the new door fits properly.
- Power Supply: Make sure there’s an electrical outlet near the ceiling where the opener will be mounted.
- Structural Soundness: Your garage walls and ceiling should be sturdy enough to support the door tracks and opener.
- Local Building Codes: Always check local regulations before installing, especially if it involves electrical wiring.
Tools and Materials You’ll Need
To install an automatic garage door, gather the following tools and materials:
- Power drill and screwdriver
- Adjustable wrench and socket set
- Tape measure and level
- Garage door kit (including panels, tracks, rollers, hinges)
- Automatic garage door opener
- Safety glasses and gloves
Having everything ready beforehand will streamline the installation process and minimize delays.
Step-by-Step Guide to Install an Automatic Garage Door
1. Prepare the Opening and Lay Out the Panels
Start by removing any existing door and cleaning the garage entrance. Lay out all door panels on the floor in the correct order. Begin installation with the bottom panel, ensuring it’s level and flush with the floor. Secure hinges and attach rollers as directed in your manual.
2. Install Tracks and Rollers
Once the bottom panel is secure, install the vertical tracks on both sides of the door. Align them properly, making sure they’re plumb. Slide rollers into the tracks and secure them. Continue stacking the remaining panels on top, attaching hinges and rollers as you go.
3. Attach the Horizontal Tracks
After securing the vertical tracks, connect the horizontal tracks to form a full frame. Ensure they’re level and aligned with the top of the garage opening. These tracks will guide the door as it opens and closes, so precision is important.
4. Install the Spring System
The spring system helps lift the heavy door. Depending on your door type, this might be a torsion spring or extension spring. Torsion springs mount above the door, while extension springs run along the horizontal track. Installing springs requires caution—these components are under high tension and can be dangerous if mishandled.
If you’re unsure about this step, it’s best to consult a professional to avoid injury.
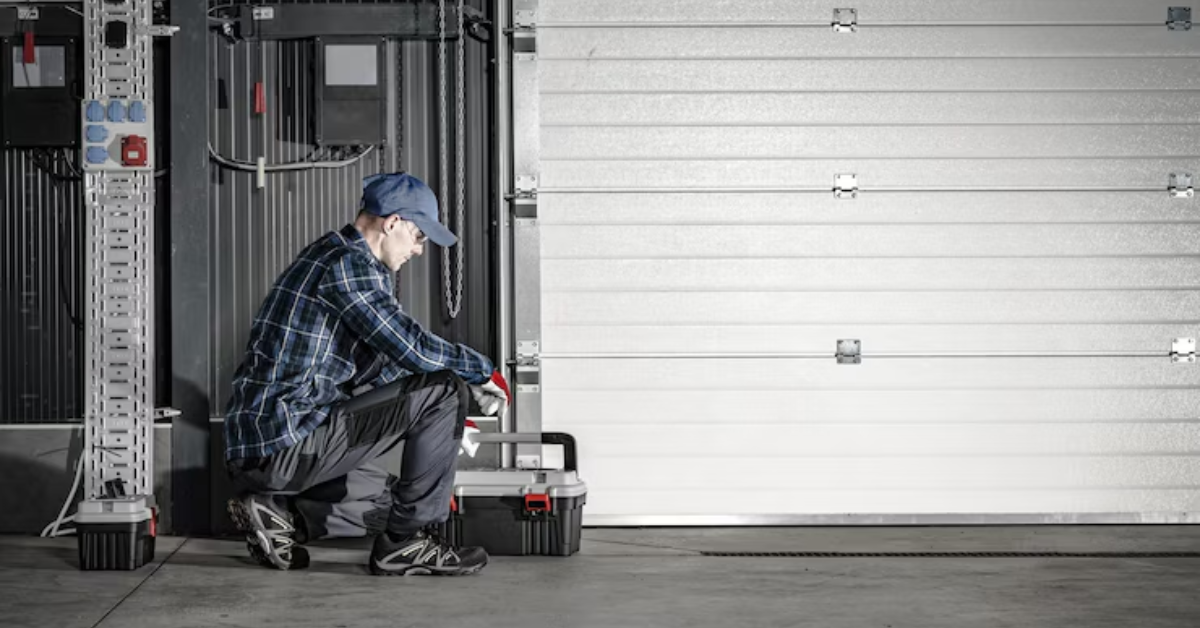
5. Mount the Automatic Garage Door Opener
With the door panels and track system installed, it’s time to mount the opener. Fix the motor unit to the ceiling joists using the provided brackets. Connect the rail to the motor and attach it to the door using an arm and trolley system. Secure all bolts and make sure the chain or belt is properly aligned.
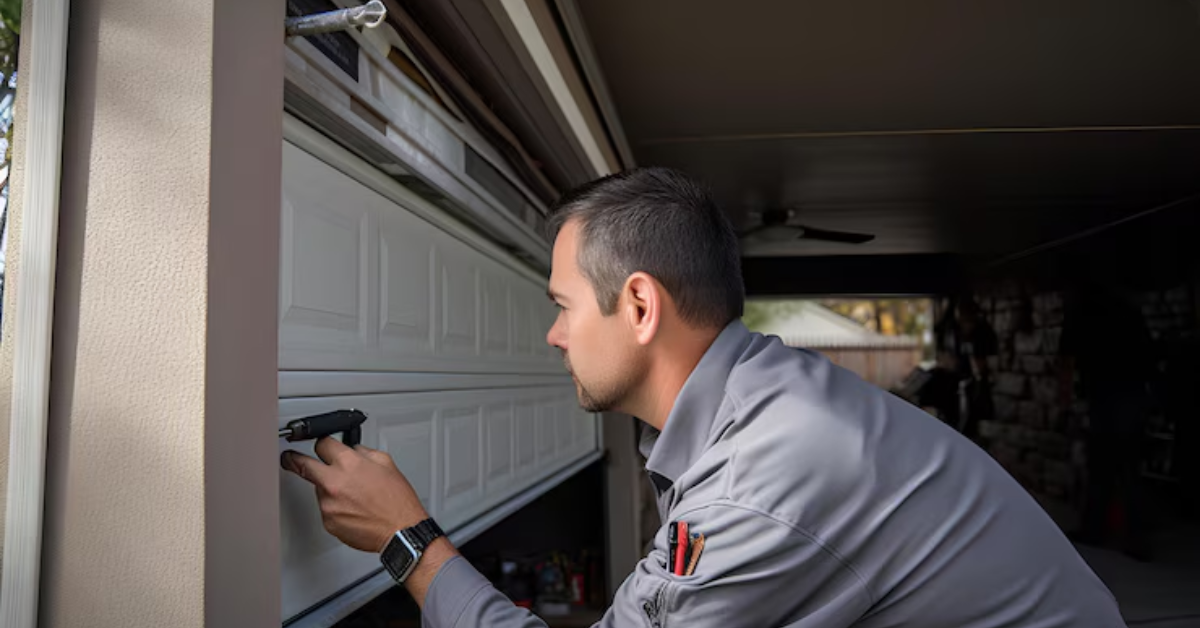
6. Connect Power and Sensors
Plug the motor into the ceiling outlet. Then, install the safety sensors on both sides of the door, about 6 inches above the floor. These sensors prevent the door from closing if something is in the way. Make sure they are aligned correctly and test for functionality.
7. Program the Remote Controls
Follow the manufacturer’s instructions to program the remote control and keypad. Most modern garage door openers use wireless technology that’s easy to set up. Be sure to test both the wall-mounted switch and remote for proper operation.
Final Testing and Safety Check
Once everything is installed and powered up, open and close the garage door several times to ensure it moves smoothly and quietly. Check that the safety sensors work correctly, and the door stops or reverses if it encounters resistance.
Make sure the opener doesn’t strain or jerk during operation. If needed, adjust the travel limits and force settings using the control dials on the opener.
Conclusion
Installing an automatic garage door is a rewarding project that boosts your home’s functionality and curb appeal. While the process involves several steps, following a structured approach makes it manageable—even for DIY enthusiasts. Always prioritize safety, follow the instructions in your specific garage door kit, and don’t hesitate to call in a professional for tricky parts like spring installation.
By ensuring proper setup and alignment, your new automatic garage door will serve you reliably for years, providing security, convenience, and peace of mind every time you come home.
You might also like
Fix N Go Blog