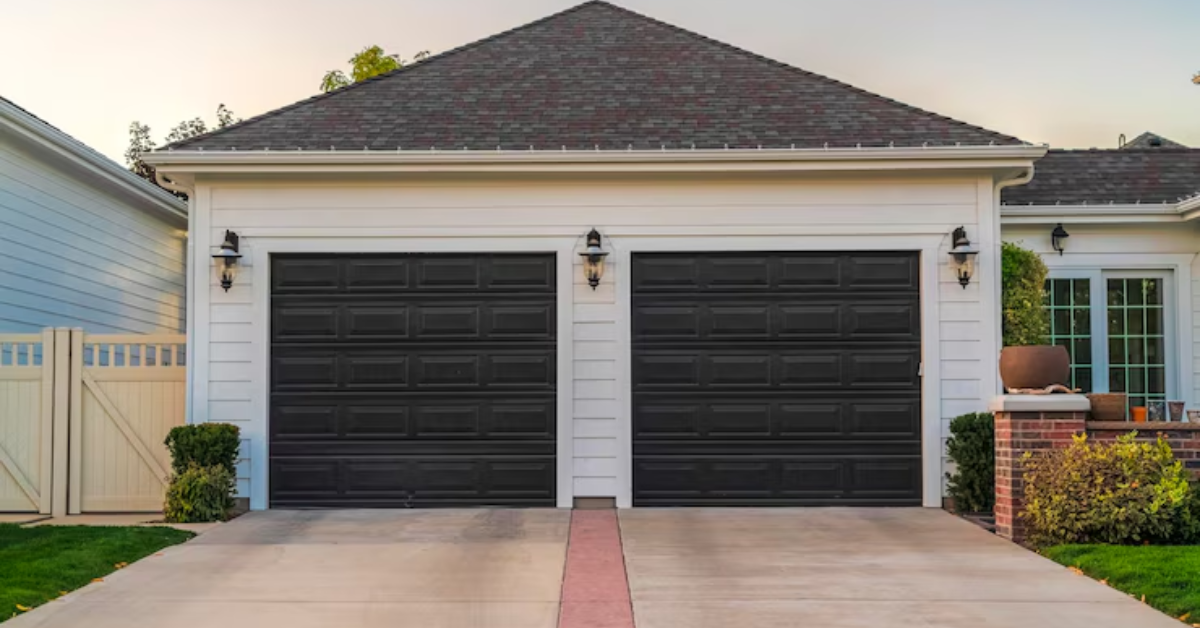
Ensuring Airtightness: Expert Tips for Sealing the Sides of Your Garage Door
Making your garage doors airtight is necessary to keep it safe from the winters’ cold winds, rain, and snow. Not only that, the crawling insects, mud, and dirty air can damage your garage and other belongings inside your property. Sealing the garage door will prevent such issues and keep you away from trouble.
Making your garage door soundproof will allow you to use your heavy garage equipment such as table saws without disturbing your neighbors. If your garage door is not airtight, the noises will go out, causing neighborly conflicts. Keep reading the article to learn how to seal your garage door from the inside.
How To Seal Garage Door Gaps On The Sides And Top
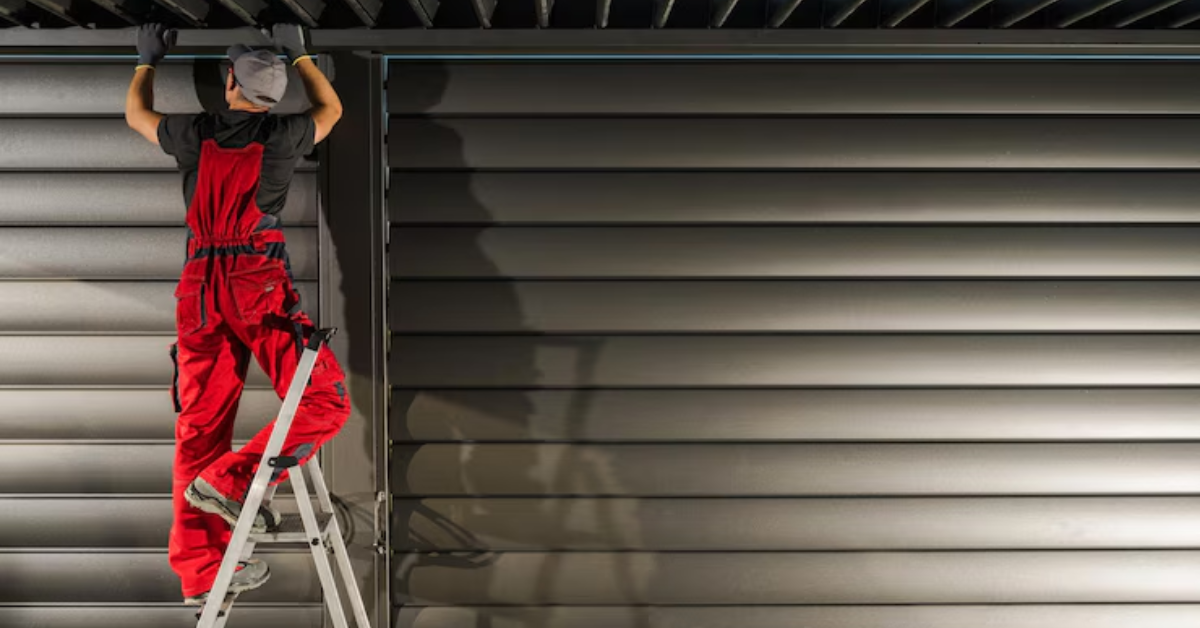
Here are ways to seal your garage door from the inside to minimize noise, keep insects out, and protect against bad weather. Remember, it's advisable to have experts handle making your garage door airtight. They possess the necessary expertise and tools for best results.
Garage Floor Seal
The most effective way to seal a garage door is by ensuring the bottom is airtight. You can easily check if the floor needs sealing by observing incoming light. Use a floor seal to make the door airtight. Clean the area below the door and close it and place the seal of the size of a door.
Use Bottom Seal
This is another way to soundproof your garage door. Installing bottom seals is quick and effortless since they come with clips, and you simply need to insert them. Measure the length of your garage door and cut the seal to the exact size. Place it using the clips provided, and you're ready to go.
Garage Door Top Seal
You also need to seal the top of the garage door to completely seal a door from inside. Look for a garage door top seal designed specifically for this purpose on the market.
When you close your garage door, the seal completely closes, sealing all the gaps at the top. The main purpose of a garage door top seal is to prevent heat loss. Hot air rises and during the winter season, losing it isn’t good. Having a garage seal intact prevents the precious hot air from leaking out. Learn effective methods for sealing your garage door from the inside to improve insulation and keep out pests and drafts.
Weather-stripping to seal garage door sides
Sealing the sides of the garage door is just as important as closing the top and the bottom. Use weather stripping tape to seal cracks and gaps on the sides of the garage door.
These were some of the best methods to make your garage insect and soundproof and resistant to the weather. Since you will spend so many dollars on sealing your garage door, failing to do it the right way won’t make you happy.
Why waste your money? We recommend calling in professionals to handle the job, so have doubtless seals. Call FixNGo at(833) 644-2822 and let the experts seal your garage door from the inside.
Assessing the Current State
The first crucial step is to conduct a comprehensive inspection of its current state when it comes to making your garage door airtight. By identifying potential weak points and areas where air leaks may occur, you'll pave the way for effective solutions. Here's a breakdown of what to look for:
Gaps around the Door:
- Examine the edges of your garage door for any visible gaps or spaces.
- Check if there are design issues when the door is closed.
- Run your hand along the edges to feel for any drafts.
Windows:
- Inspect the seals around windows, if your garage has them.
- Look for cracks or gaps in the window frames that could allow air infiltration.
- Ensure that windows close tightly and securely.
Existing Weatherstripping:
- Assess the condition of your current weatherstripping.
- Look for signs of wear, tears, or compression that may compromise its effectiveness.
- Check if the weatherstripping extends across the entire length of the door and makes full contact when closed.
Overall Door Structure:
- Inspect the general condition of the garage door panels.
- Look for any visible cracks, holes, or damage that might contribute to air leaks.
- Pay attention to the joints and hinges for potential gaps.
Ventilation Openings:
- If your garage has ventilation openings, inspect them for proper sealing.
- Check if any louvers or vents are in good condition and not allowing excessive airflow.
Light Penetration:
- Close the garage door during daylight and inspect for any light penetration around the edges.
- Note areas where sunlight is visible, as this indicates potential gaps
Document your findings as they will be the basis for making specific improvements to enhance your garage door's airtightness. Addressing these identified issues will contribute significantly to creating a more energy-efficient and secure garage space.
Understanding the Role of Weather stripping:
Weather stripping is essential for sealing your garage door, acting as a barrier against external elements. Made of rubber or vinyl, it prevents air leaks, insulating and protecting your garage. Creating a seal along the sides and bottom helps regulate temperature, reduce energy costs, and protect against dust, debris, and pests.
Secure your entryway by reinforcing the door jamb for enhanced stability and safety. Upgrade your door's energy efficiency with high-quality weatherstrip seals to keep out drafts and enhance insulation.
Enhance the durability and weather resistance of your garage door with our expert garage door repair services in Houston, TX. Our skilled technicians specialize in addressing issues such as side seal and door weatherstrip, ensuring that your garage remains well-insulated and protected against the elements.
From installing effective side seals to replacing worn-out door weatherstrips, we are committed to providing comprehensive solutions that improve the overall functionality and efficiency of your garage door. Trust us to deliver reliable and tailored garage door repair services in Houston, TX, for a more secure and weather-resistant garage space.
Step-by-Step Installation or Replacement of Weatherstripping:
Materials Needed:
- Weather stripping material (vinyl, rubber, or silicone)
- Measuring tape
- Utility knife or scissors
- Cleaning solution and rag
Measure and Assess:
- Measure the lengths of the sides and bottom of your garage door to determine the required amount of weatherstripping.
- Inspect the existing weatherstripping to ensure it is in good condition. If worn or damaged, removal may be necessary.
Prepare the Surface:
- Clean the surfaces along the sides and bottom of the door using a cleaning solution to ensure optimal adhesion.
Choose the Right Weather stripping:
- Select weather stripping material suitable for your climate. For colder regions, consider options that remain flexible in low temperatures.
Cut to Size:
- Using the measurements, cut the weatherstripping material to the appropriate lengths for the sides and bottom of the door.
Side Installation:
- Starting at one corner, press the weat firmly against the side of the door.
- Continue affixing it along the entire length, ensuring a snug fit. Trim any excess material.
Bottom Installation:
- Position the weatherstripping along the bottom of the door, ensuring it makes full contact with the garage floor.
- Apply firm pressure to secure the adhesive backing in place.
Test the Seal:
- Close the garage door and check for any visible gaps or drafts. Adjust the weather stripping as needed to achieve a tight seal.
Recommendation for High-Quality Weather stripping:
Choosing the right weather stripping material is crucial for long-lasting effectiveness. Consider the following options based on climate:
- Vinyl Weather stripping: Suitable for milder climates, vinyl is cost-effective and provides good sealing properties.
- Rubber Weather stripping: Ideal for moderate climates, rubber is durable and remains flexible in various temperatures.
- Silicone Weather stripping: Best for extreme temperature ranges, silicone remains pliable in both hot and cold conditions, offering superior sealing.
By following these step-by-step instructions and selecting high-quality weather stripping materials, you'll enhance the airtight seal of your garage door, contributing to improved energy efficiency and overall comfort within your garage space.
Elevate the performance and weather resilience of your garage door in Houston, TX, with our specialized repair services. Our skilled technicians are equipped to address various issues, including installing a threshold seal to enhance the door's bottom seal and protect against external elements.
We also focus on the frame of the garage door, ensuring that it remains sturdy and functional. Whether it's replacing a worn-out threshold seal or addressing frame-related concerns, our garage door repair services in Houston are tailored to fortify your garage against weather conditions and enhance its overall durability. Trust us for comprehensive solutions that prioritize the longevity and efficiency of your garage door.
Sealing Gaps and Cracks
Importance of Addressing Gaps and Cracks:
Gaps and cracks in the garage door structure can significantly compromise the overall airtightness, allowing outside air, moisture, and pests to infiltrate the space. This not only affects energy efficiency but also impacts the security and condition of items stored in the garage. Addressing these openings is crucial to create a well-sealed environment and enhance the functionality of your garage.
Guidance on Using Caulk or Sealant:
Caulk or sealant serves as a reliable solution for filling gaps and cracks in the garage door. Follow these steps for effective application:
Materials Needed:
- Caulk gun
- Caulk or sealant suitable for your garage door material (wood, metal, or composite)
- Utility knife
- Cleaning solution and rag
Clean the Surface:
Thoroughly clean the areas around gaps and cracks using a cleaning solution to ensure proper adhesion.
Choose the Right Caulk:
Select a caulk or sealant suitable for your garage door material. Use paintable latex caulk for wood doors and silicone or adhesive caulk specifically designed for metal surfaces on metal doors.
Prepare the Caulk Gun:
Load the caulk gun with the chosen caulk tube and cut the tip at a 45-degree angle to control the bead size.
Apply the Caulk:
Start at one end of the gap or crack and slowly squeeze the trigger to apply a continuous bead of caulk.
Move the caulk gun steadily along the gap, ensuring even coverage.
Smooth the Surface:
Use a damp rag or a caulk-smoothing tool to smooth the applied caulk, ensuring a clean and neat finish.
Choosing the Right Type of Caulk for Different Materials:
- Wood Doors: Use a paintable latex caulk that adheres well to wood surfaces and allows for easy painting.
- Metal Doors: Opt for silicone or adhesive caulk specifically designed for metal, providing durability and flexibility.
- Composite Doors: Choose a caulk compatible with composite materials, ensuring a strong bond and resistance to weathering.
By addressing gaps and cracks with the appropriate caulk or sealant, you'll fortify your garage door against external elements, contributing to a more airtight and secure space. Experience hassle-free improvements with easy installation methods for a more efficient and airtight garage door. Strengthen your entry's structural integrity by reinforcing the door frame, ensuring long-lasting durability and security.
You might also like
Fix N Go Blog