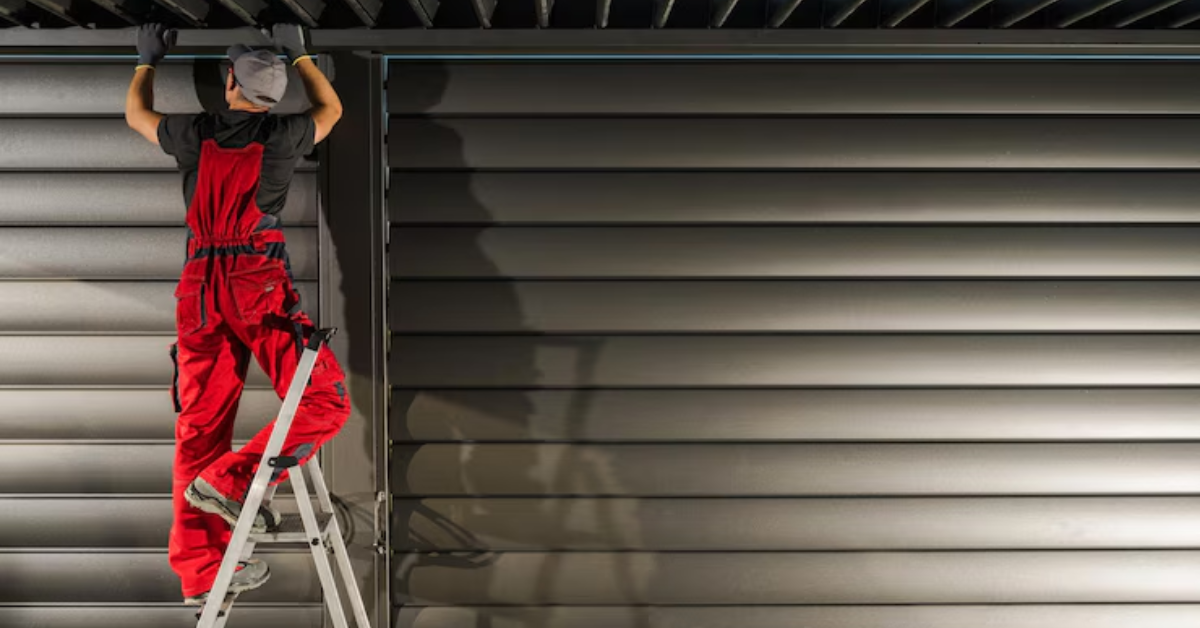
How to Repair a Broken Garage Door Cable
Garage door cables are pivotal components of a smoothly functioning overhead door system. These cables play a critical role in supporting the door's weight, ensuring balanced movement along the tracks. The door's operation becomes compromised without properly functioning cables, leading to potential safety hazards and inconvenience.
The root cause of garage door cable breakage must be understood to prevent future problems. Several factors contribute to cable failure, including prolonged usage leading to wear and tear, incorrect cable installation, rust accumulation, or sudden damage due to external forces such as
severe weather conditions
or accidents. Recognizing these causes helps in adopting preventive measures and timely maintenance, ensuring the longevity of the garage door system.
Repairing a broken garage door
cable is a task that demands precision and safety measures. This guide aims to provide a comprehensive walkthrough of the repair process, empowering homeowners to address cable issues effectively while emphasizing safety precautions and necessary steps for a successful repair. To learn how to reconnect a garage door cable, ensure the door is closed, release the tension, reattach the cable to the drum, and then carefully restore the tension.
Safety Precautions Before Repair
Make safety a priority by equipping yourself with the necessary gear:
- Heavy-duty work gloves to protect hands from sharp edges and moving parts.
- Safety goggles to shield eyes from debris and prevent injury.
- Sturdy closed-toe shoes to safeguard feet from potential falls or heavy objects.
- A hard hat, especially if working in a confined space or beneath the door.
Switching off Power Sources
Ensure safety by disconnecting power sources to prevent accidental activation of the door mechanism:
- Locate thegarage door opener's power source and unplug it.
- If hard-wired, find the circuit breaker or fuse controlling the garage door opener and switch it off.
Locking the Door in Place
Secure the door in a stationary position to preventunexpected movement during repairs:
- Use locking pliers or clamps to secure the door track just below the bottom roller.
- Insert a sturdy object, such as a C-clamp or vice grip, on the track above the bottom roller to prevent movement.
These safety measures are critical before initiating any repair work on a broken garage door cable. Prioritizing safety reduces the risk of accidents and ensures a secure environment for the repair process.
Assessing the Damage
When assessing the garage door's cable system, begin by visually examining the cables. Look closely at the cables that run along the tracks on both sides of the door. Look for signs of wear, fraying, or breakage. A broken cable might appear frayed, with individual strands sticking out or completely snapped in severe cases. These damaged areas are often found near the drums or along the tracks.
Carefully observe the tension of the cables. An improperly tensioned cable might appear loose or slack compared to the other intact cables. Additionally, check for any unusual twists or tangles in the cables, as these can indicate issues with the cable's alignment or movement within the pulleys or drums.
While examining the cables, take the opportunity to thoroughly inspect the door itself for any accompanying damage. Check the panels for dents, dings, or deformities, as these could affect the door's ability to move smoothly along the tracks. Any visible misalignments or warping in the door panels might suggest issues that need to be addressed alongside the cable repair.
Inspect the tracks where the door moves. Look for bends, obstructions, or accumulated debris that might hinder the door's movement or have contributed to the cable breakage. Misaligned tracks can strain the cables, leading to premature wear and eventual breakage.
Conducting a comprehensive assessment not only helps in identifying theimmediate problem with the broken cable but also allows for the detection of any underlying issues that could affect the garage door's functionality. This thorough examination sets the stage for an effective and complete repair process.
Gathering Necessary Tools
Before beginning the repair process for a broken garage door cable, it's crucial to gather the necessary tools. Here's a list of tools commonly needed:
Replacement Cable: Ensure you have the correct length and type of cable required for your specific garage door system.
Winding Bars:These bars are essential for safely releasing tension from the torsion springs.
Adjustable Wrenches: Useful for loosening and tightening bolts and nuts during the repair process.
Locking Pliers:These help in securing the door in place while working on the cables.
Safety Glasses and Work Gloves:Protect your eyes and hands from debris and potential injuries.
Ladder:A sturdy, stable ladder is necessary for accessing and working on different parts of the door.
Wire Cutters:Used for cutting and trimming the new cable to the appropriate length.
Rubber Mallet: Helpful for gentle adjustments and alignments without causing damage.
Ratchet and Socket Set: Useful for various nuts and bolts that might need adjustments.
Safety Gear: Hard hat, closed-toe shoes, and other personal protective equipment (PPE) for safety.
Organizing the Workspace
Organizing the workspace is essential for a smooth and safe repair process. Clear any clutter or obstacles around the garage door area to create sufficient working space. Ensure proper lighting to clearly see the components of the door system.
Arrange the tools and materials in a systematic manner, making them easily accessible while working. A well-organized workspace minimizes the chances of accidents and helps in a more efficient repair process. Additionally, having a clear workspace allows for better focus and concentration on the task at hand, ensuring a successful repair of the garage door cable.
Steps to Repair a Broken Garage Door Cable
Loosening the Tension:
- Begin by securing the door in place using locking pliers or clamps to prevent movement.
- Use winding bars to unwind the tension from the torsion springs carefully. For this process, follow the manufacturer's instructions.
- Slowly release the tension from the springs by inserting the winding bars into the designated holes on the springs and gradually turning them. Take caution as the springs hold a considerable amount of tension.
Removing the Damaged Cable:
- Once the tension is released, identify the damaged cable.
- Using appropriate tools like wrenches, disconnect the cable from the drum and the bottom bracket.
- Slide the damaged cable out from the pulleys and tracks, ensuring to note its path for installing the new cable.
Installing the New Cable:
- Thread the new cable through the pulleys and tracks, following the same path as the old cable.
- Reattach the cable to the drum and the bottom bracket securely.
- Use wire cutters to trim any excess cable length, leaving an adequate amount for proper functioning.
Realigning and Testing the Door:
- Slowly wind the tension back onto the torsion springs using the winding bars. Follow the manufacturer's recommended number of turns for proper tension.
- Once the tension is restored, remove the locking pliers or clamps securing the door.
- Test the door's movement by operating it through a complete cycle. Check for smooth and balanced movement along the tracks. Ensure there are no unusual noises or jerky motions.
- Conduct a visual inspection to verify that the cable is properly seated in the pulleys and on the drum.
Adhering to these step-by-step instructions ensures a systematic and safe process for replacing a broken garage door cable. It's crucial to follow these steps meticulously to guarantee the correct installation of the new cable and the safe operation of the garage door. If unsure at any stage, it's recommended to consult a professional for assistance.
Additional Tips and Considerations
Lubricating Moving Parts
Regular lubrication plays a critical role in maintaining the efficient operation of garage door components. Using a silicone-based or lithium-based lubricant is essential for key parts: the rollers, ensuring smooth rolling within the tracks; hinges, enabling seamless movement between door panels; and springs, preventing rust and facilitating smoother motion. It's important to steer clear of heavy oils or grease as they can gather dirt, potentially causing operational complications. Conduct this maintenance task every few months or as per the manufacturer's recommendation to uphold optimal performance and extend the door system's longevity.
Regular Maintenance for Prevention
Performingroutine maintenance tasks plays a pivotal role in preventing potential issues within the garage door system. Consider essential preventive measures such as conducting regular visual inspections on cables, tracks,rollers, and other components to detect signs of wear, damage, or misalignment. Tighten any loose bolts, nuts, or screws to ensure all door-holding hardware is securely fastened. Regularly clean tracks to remove debris and dirt, preventing any obstructions that might hinder the door's smooth movement. Test the door's balance periodically by disconnecting the opener and manually operating it; a properly balanced door should move smoothly without resistance. By adhering to a structured maintenance schedule, minor issues can be identified and resolved before they escalate, ultimately extending the lifespan of the garage door system.
Professional Help When You Need It
While some garage door issues might be manageable throughDIY repairs, certain circumstances necessitateprofessional intervention. For instance, replacing torsion springs, known for their high tension, can be perilous without proper expertise and tools. Complex cable issues, especially when multiple cables are damaged or when repairs extend beyond basic cable replacement, also call for professional attention. Moreover, extensive structural damage to door panels, tracks, or other vital components warrants a professional assessment and repair. When uncertain about the complexity of a repair or if safety is a concern, seeking assistance from a qualified garage door technician is highly advisable. Their expertise ensures not only safe but also effective repairs, mitigating further damage and potential accidents.
Conclusion
Repairing a broken garage door cable demands meticulous attention, adherence to safety protocols, and a systematic approach encompassing the careful assessment, replacement, and testing of the cable. Timely repairs not only restore the door's functionality but also mitigate safety risks and prevent further damage to the entire garage door system. Prioritizing regular maintenance and swift action in addressing cable issues ensures a reliable and safe garage door operation, contributing to both convenience and long-term durability of the system.

You might also like
Fix N Go Blog