How To Replace Garage Door Insulation Panels?

Rabia Tingat • September 3, 2024

Maintaining a well-insulated garage is crucial for energy efficiency, especially in regions with extreme weather conditions. Insulated garage doors play a significant role in regulating the temperature inside the garage, reducing heat loss in winter and minimizing heat gain in summer. However, over time, the insulation panels on your garage door can become worn out or damaged, leading to decreased efficiency. In this detailed guide, we will walk you through the process of replacing garage door insulation panels, ensuring that your garage remains energy-efficient and comfortable year-round.


Understanding the Importance of Garage Door Insulation Panels


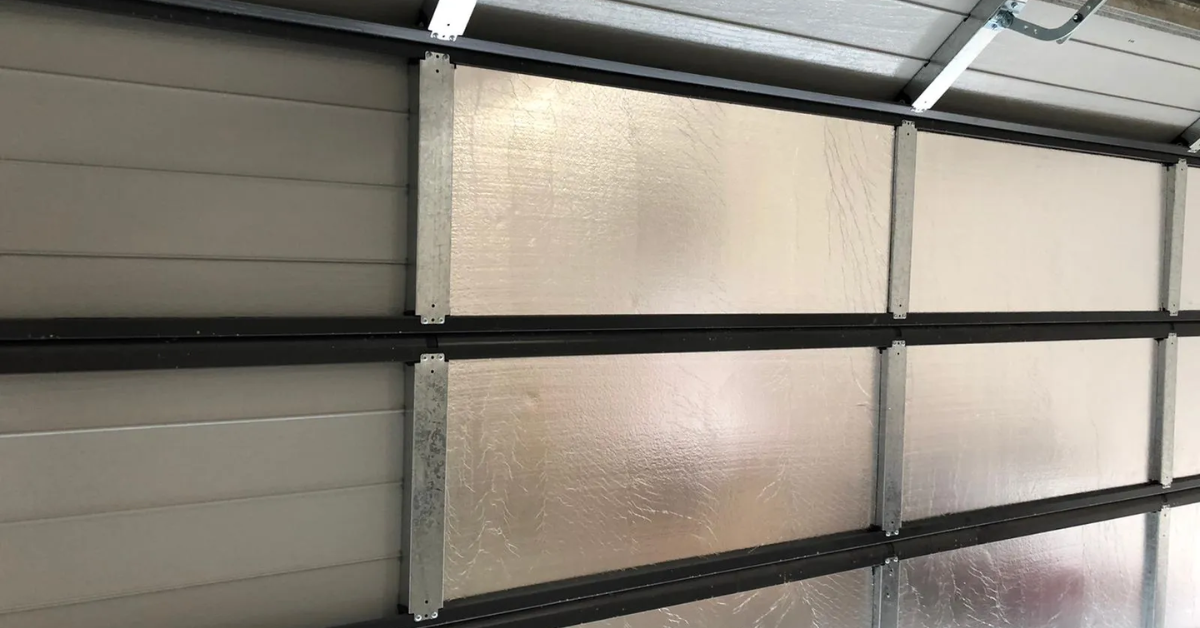
Garage door insulation panels are essential for maintaining the thermal integrity of your garage. These panels act as a barrier, preventing the transfer of heat between the interior and exterior of the garage. This insulation helps in reducing energy costs, maintaining a stable temperature, and even protecting the items stored in your garage from extreme temperature fluctuations.


The benefits of replacing old or damaged insulation panels are numerous:


  • Proper insulation reduces the need for additional heating or cooling, leading to lower energy bills.
  • A well-insulated garage maintains a more consistent temperature, making it more comfortable to use year-round.
  • Insulation helps protect sensitive items stored in the garage from temperature extremes.
  • Insulated panels can also help in reducing noise from outside, making your garage a quieter space.


Signs That Your Garage Door Insulation Panels Need Replacement


Before jumping into the replacement process, it’s important to identify whether your insulation panels truly need replacing. Some of the key signs include:


  • Visible Damage: Cracks, holes, or tears in the insulation material are clear indicators that replacement is necessary.
  • Decreased Energy Efficiency: If you notice a sudden spike in your energy bills or find it difficult to maintain a comfortable temperature in the garage, your insulation panels may be compromised.
  • Aging Panels: Over time, insulation materials can degrade, losing their effectiveness. If your panels are several years old, it may be time to replace them.
  • Water Damage: Moisture infiltration can cause the insulation to become soggy and ineffective, necessitating replacement.


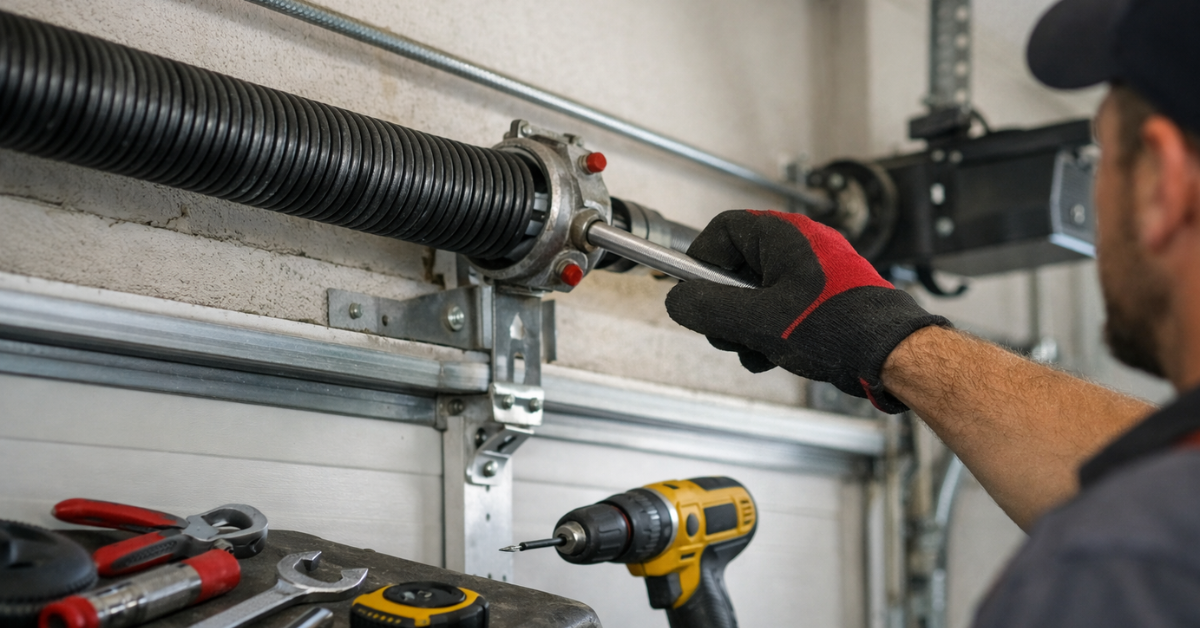
Tools and Materials Needed for Replacing Garage Door Insulation Panels


Replacing garage door insulation panels is a straightforward DIY project, but having the right tools and materials on hand will make the process smoother. Here’s a list of what you’ll need:


  • Replacement Insulation Panels: Ensure that the new panels are compatible with your garage door model.
  • Utility Knife: For cutting the insulation to size.
  • Measuring Tape: To measure the dimensions of the insulation panels.
  • Adhesive or Insulation Fasteners: To secure the new panels in place.
  • Gloves and Safety Glasses: For personal protection during the installation process.
  • Screwdriver or Drill: Depending on your garage door model, you may need these tools to remove and reattach components.


Step-by-Step Guide to Replacing Garage Door Insulation Panels


1. Measure the Existing Panels

Start by measuring the dimensions of the current insulation panels on your garage door. Use a measuring tape to get accurate measurements of each panel. Record these measurements, as they will guide you in cutting the new insulation to the correct size.


2. Remove the Old Insulation Panels

Carefully remove the old insulation panels from the garage door. Depending on how they were installed, you may need to use a screwdriver or drill to remove any fasteners holding the panels in place. If the panels are glued, gently pry them off with a utility knife. Be cautious not to damage the garage door during this process.


3. Prepare the New Insulation Panels

Using the measurements you recorded earlier, cut the new insulation panels to size. A utility knife is the best tool for this job, as it allows for precise cuts. Make sure the panels fit snugly into the spaces on your garage door without any gaps.


4. Install the New Insulation Panels

Position the new insulation panels on the garage door, ensuring they align correctly with the door’s contours. Depending on your garage door model, you can secure the panels using adhesive or insulation fasteners. Apply even pressure to ensure the panels adhere properly. If using fasteners, ensure they are evenly spaced to keep the insulation securely in place.


5. Check the Installation

Once all the panels are installed, check to make sure they are firmly in place and that there are no gaps or loose areas. Run your hand over the panels to check for any uneven spots. If necessary, make adjustments to ensure a smooth, secure fit.


Maintenance Tips for Your Garage Door Insulation Panels


To prolong the life of your new insulation panels and maintain their effectiveness, regular maintenance is key. Here are some tips to keep your garage door insulation in top condition:


  • Periodically check the insulation panels for any signs of damage or wear. Minor issues can be prevented from becoming major ones if they are detected early.
  • Dust and debris can accumulate on the panels over time. Clean them with a soft brush or vacuum to prevent dirt from affecting the insulation’s performance.
  • Ensure that there are no gaps around the edges of the insulation panels. Use weatherstripping or caulk to seal any gaps, which can improve the insulation’s effectiveness.
  • Moisture is one of the biggest enemies of insulation. Ensure your garage is properly ventilated to prevent condensation and water damage to the insulation panels.


Conclusion


Replacing garage door insulation panels is a practical and effective way to enhance your garage’s energy efficiency, comfort, and protection. Using these steps, you can ensure a successful installation that will last for years. Regular maintenance will further extend the life of your insulation, keeping your garage a comfortable and functional space.

You might also like

Fix N Go Blog

How To Fix A Squeaky Automatic Garage Door?
By Rabia Tingat February 21, 2025
Stop your automatic garage door from squeaking with these quick and easy maintenance tips. Say goodbye to irritating noises today!
How Long Do Automatic Garage Door Openers Last?
By Rabia Tingat February 20, 2025
Automatic garage door openers have become a staple in modern homes, offering convenience, security, and efficiency. However, like any mechanical system, they do not last forever. If you are wondering, how long do automatic garage door openers last, the answer depends on various factors, including usage, maintenance, and the quality of the opener itself. In this article, we’ll explore the average lifespan of garage door openers, signs that indicate it’s time for a replacement, and tips to extend their longevity. Average Lifespan of an Automatic Garage Door Opener On average, an automatic garage door opener lasts between 10 to 15 years. However, with proper maintenance and minimal wear and tear, some openers can function efficiently for up to 20 years. The lifespan of a garage door opener depends on: Usage frequency – The more you use it, the quicker it wears out. Maintenance – Regular servicing can prolong its life. Quality of the opener – Higher-end models tend to last longer. Environmental factors – Harsh weather conditions can impact longevity. For homeowners who use their garage doors multiple times a day, the opener may wear out faster than the average lifespan. Factors That Affect the Lifespan of a Garage Door Opener 1. Frequency of Use Every garage door opener has a motor and internal gears that undergo stress each time the door opens and closes. If your garage is the primary entrance to your home, daily use can shorten its lifespan. A standard garage door opener is designed to last about 10,000 cycles (one cycle = opening and closing). If you open and close your garage door twice a day, it could last around 13–15 years. However, if you use it more frequently, the lifespan may be closer to 8–10 years. 2. Quality of the Opener Not all garage door openers are created equal. Cheaper models may last around 8–10 years, while premium brands with advanced technology and durable parts can last well beyond 15 years. 3. Maintenance and Repairs Routine garage door maintenance plays a significant role in longevity. Lubricating moving parts , tightening loose hardware, and ensuring the safety sensors are clean can prevent wear and tear. Without regular maintenance, components like springs, chains, and belts can wear out faster, forcing the motor to work harder—ultimately reducing its lifespan. 4. Weather and Environmental Conditions Extreme weather conditions, such as high humidity, freezing temperatures, or excessive heat, can impact the opener’s performance. Cold weather can cause metal components to contract, making the opener work harder. High humidity can lead to rust and corrosion, affecting internal parts. Extreme heat can damage the circuit board inside the opener. If you live in an area with harsh weather, investing in a weather-resistant garage door opener can help extend its lifespan. 5. Power Surges and Electrical Issues Frequent power surges or poor electrical wiring can damage the opener’s circuit board. Using a surge protector can help prevent unexpected failures due to voltage spikes. Signs It’s Time to Replace Your Garage Door Opener Even if your garage door opener is still working, certain signs indicate that it may need a replacement soon: 1. Slow or Noisy Operation: If your garage door moves slower than usual or starts making loud grinding or rattling noises, it could mean the motor or internal gears are wearing out. 2. Inconsistent Performance: Does your garage door opener sometimes refuse to respond? If you notice delays or frequent malfunctions, the circuit board or motor may be failing. 3. Outdated Safety Features: Older garage door openers lack modern safety features like rolling code technology, motion sensors, and smartphone integration. If your opener is more than 15 years old, consider upgrading to a newer, safer model. 4. Increased Maintenance Costs: If you find yourself constantly repairing the opener, it may be more cost-effective to replace it with a newer model rather than spending money on frequent repairs. 5. Random Opening and Closing: If your garage door opens or closes on its own, it could be due to a malfunctioning circuit board or interference from nearby signals. This can pose a security risk, so replacing it may be the best solution. How to Extend the Lifespan of Your Garage Door Opener Want to make your garage door opener last as long as possible? Follow these maintenance tips: 1. Lubricate Moving Parts: Apply garage door lubricant to the chains, rollers, and hinges every 6 months to reduce friction and wear. 2. Tighten Hardware Regularly: Over time, bolts and screws may loosen. Inspect and tighten them annually to ensure smooth operation. 3. Test the Safety Features: Ensure that the auto-reverse mechanism and photo-eye sensors are working properly. Place an object in the door’s path to see if it stops and reverses as it should. 4. Replace Worn-Out Parts Promptly: If you notice frayed belts, worn-out chains, or weak springs, replace them before they break completely. 5. Keep the Tracks Clean: Dirt and debris can cause misalignment. Clean the garage door tracks regularly to prevent operational issues. 6. Install a Surge Protector: A surge protector prevents damage from unexpected power surges, helping to protect the opener’s circuit board. Final Thoughts So, how long do automatic garage door openers last? The typical lifespan is 10 to 15 years, but with proper maintenance, some can last up to 20 years. If your opener is showing signs of wear, struggles to function properly, or lacks modern safety features, it may be time for an upgrade. By following preventative maintenance tips, you can extend its lifespan and avoid unexpected failures. Invest in a high-quality garage door opener, maintain it regularly, and enjoy years of hassle-free operation!
How Do Automatic Garage Doors Work?
By Rabia Tingat February 18, 2025
How do automatic garage doors operate? Explore the technology, from remote control signals to motorized lifting, and understand why they’re a must-have.
More Posts
Share by: