How to Tighten Garage Door Cables
Garage door cables play a crucial role in the smooth operation of your garage door system. These cables are responsible for lifting and lowering the door safely, ensuring balance and preventing accidents. Over time, garage door cables may become loose due to wear and tear, resulting in an unbalanced door, difficulty in opening or closing, or even potential hazards. If your garage door cables have slack, it’s important to tighten them to restore functionality and safety. This guide will walk you through the steps to tighten garage door cables properly.
How Garage Door Cables Work
Garage door cables work in conjunction with torsion or extension springs to control the movement of the door. They run through pulleys or drums to ensure smooth lifting and lowering. When cables loosen, they can cause alignment issues, leading to an improperly functioning door. Identifying the cause of the looseness is key to determining whether a simple tightening will fix the issue or if further repairs are necessary.
Why Garage Door Cables Become Loose
Several factors can lead to loose garage door cables:
- Wear and Tear: Over time, frequent usage can weaken the cables, causing them to stretch.
- Improper Installation: If cables were not installed with the right tension initially, they may become loose prematurely.
- Spring Tension Issues: If torsion or extension springs lose tension, the cables may also become loose.
- Obstructions or Damage: Physical damage or obstructions in the pulley system can affect cable tension.
Safety Precautions Before Tightening Garage Door Cables
Tightening garage door cables involves handling high-tension components, which can be dangerous. Before you begin, follow these safety measures:
- Disconnect Power: If your garage door is automatic, unplug the opener to prevent accidental activation.
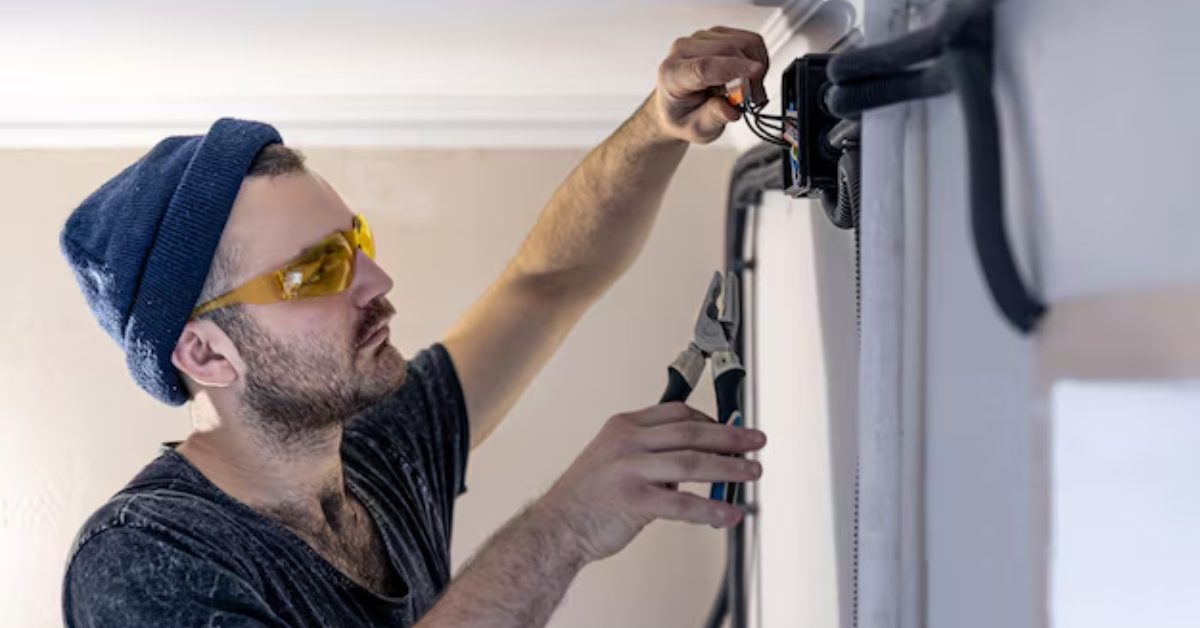
- Wear Safety Gear: Gloves and safety glasses help protect against accidental injuries.
- Secure the Door: Use clamps or locking pliers to hold the door in place, preventing unexpected movement.
- Use Proper Tools: Have a wrench, screwdriver, and ladder ready for a smooth process.
Steps to Tighten Garage Door Cables
Step 1: Inspect the Cables
Before making adjustments, carefully inspect the cables for fraying, rust, or other signs of damage. If the cables appear worn, replacing them may be a better option than simply tightening them.
Step 2: Identify the Type of Garage Door System
Garage doors typically use one of two systems: torsion spring or extension spring. Identifying your system helps determine the best way to tighten the cables.
- Torsion Spring System: Uses a drum at the top of the garage door, where the cables wind around.
- Extension Spring System: Has pulleys and cables attached to the sides of the door.
Step 3: Loosen the Cable Drum Screws (For Torsion Spring Systems)
For garage doors with a torsion spring system, locate the cable drum near the top of the door. Using a wrench, slightly loosen the set screws on the drum without completely removing them.
Step 4: Adjust the Cable Tension
Once the screws are loosened, pull the cables to remove any slack. Be careful not to overtighten, as this can place excessive strain on the system and cause premature wear.
Step 5: Re-Tighten the Set Screws
After adjusting the tension, securely tighten the set screws back in place. Ensure they are firm enough to hold the cable without slipping.
Step 6: Check the Cable on the Other Side
If your garage door has two cables, repeat the same process on the other side to ensure even tension. Uneven cables can cause the door to become misaligned.
Step 7: Test the Garage Door
Carefully remove any clamps or locking pliers, and manually lift the door a few times to check if it operates smoothly. If the door moves freely without jerking or sagging, the cables are properly tightened.
Step 8: Reconnect the Power and Test the Opener
If you disconnected the garage door opener, plug it back in and test the automatic function to ensure everything works correctly.
When to Call a Professional
While tightening garage door cables is manageable for those with some DIY experience, certain situations require professional assistance:
- Severely Frayed or Broken Cables: If the cables show significant wear or have snapped, replacement is necessary.
- High Tension Torsion Springs: Torsion springs are under extreme pressure and can be dangerous to adjust without proper tools and expertise.
- Persistent Misalignment: If the door remains unbalanced after adjusting the cables, a deeper issue may be at play.
Maintaining Garage Door Cables
To prevent future issues, regular maintenance of garage door cables is crucial. Here are some maintenance tips:
- Inspect Monthly: Look for signs of wear, rust, or fraying.
- Lubricate Moving Parts: Use a garage door lubricant on pulleys and drums to ensure smooth operation.
- Check Spring Tension: Keep an eye on the springs, as loose springs can lead to cable slack.
- Schedule Professional Inspections: A yearly inspection by a garage door technician can help identify issues before they become major problems.
Final Thoughts
Tightening garage door cables is essential for ensuring a safe and smooth-operating door. By following the right steps, you can effectively adjust the tension and restore proper function. However, always prioritize safety and seek professional help if the task seems too complex. Regular maintenance can prevent frequent adjustments, prolonging the lifespan of your garage door system.


