How To Change Battery In Liftmaster Garage Door Opener?

Rabia Tingat • October 9, 2024

LiftMaster garage door openers are known for their convenience and reliability, but like all battery-powered devices, their remotes require battery replacements over time. If your LiftMaster remote control or the opener’s backup battery is no longer working efficiently, it’s time to replace the batteries. Fortunately, changing the battery in a LiftMaster garage door opener is a simple process that can be done in just a few minutes.


In this article, we’ll guide you through the steps to change both the remote control battery and the backup battery of a LiftMaster garage door opener, as well as answer some frequently asked questions.


Why You Need to Change the Battery in a LiftMaster Garage Opener

There are two main reasons why you might need to change the battery in your LiftMaster garage opener:

  1. Remote Control Battery: If your garage door opener remote isn’t working or its range has decreased, a dying battery could be the cause.
  2. Backup Battery: LiftMaster openers often come with a backup battery that provides power during electrical outages. If this battery is low or dead, it won’t be able to open or close the door during a power outage.

Both battery types are easy to replace, ensuring your garage door system remains functional.


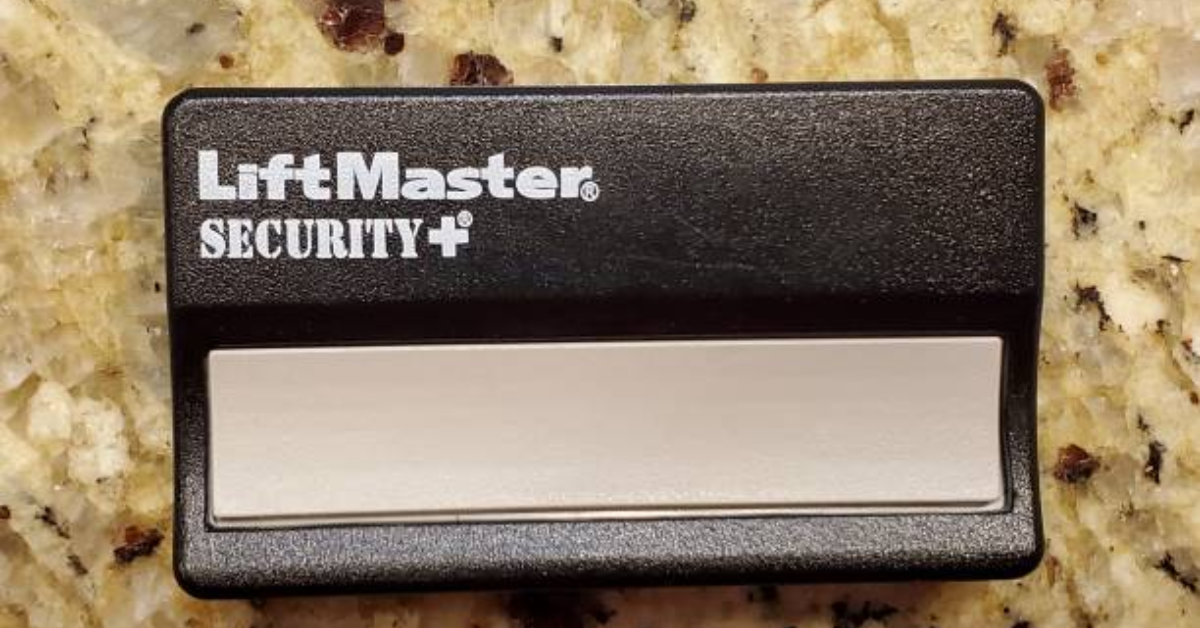
How to Change the Battery in a LiftMaster Remote Control


Step 1: Gather Necessary Tools and Supplies

Before you start, you’ll need:

  • A replacement battery for your remote control. Most LiftMaster remotes use a 3V CR2032 lithium coin battery, but it’s important to check your specific remote model to ensure you’re using the correct type.
  • A small flathead screwdriver or coin (for prying open the remote case).


Step 2: Open the Remote Control

  1. Locate the battery compartment. Most LiftMaster remotes have a seam or a small slot on the side or back of the remote. This is where you’ll open the case to access the battery.
  2. Use the flathead screwdriver or coin to gently pry open the remote case. Be careful not to damage the remote’s casing or internal components while doing this.


Step 3: Remove the Old Battery

Once the remote case is open, locate the battery inside. Carefully remove the old battery by gently lifting it from its compartment. Make note of how the battery was positioned, as you’ll need to insert the new battery in the same direction.


Step 4: Insert the New Battery

Take your new CR2032 battery and insert it into the compartment, making sure the positive side (+) is facing up (or as indicated by the battery holder). Ensure that the battery is securely in place and sits flat within the compartment.


Step 5: Close the Remote Case

After the new battery is installed, snap the remote case back together. Make sure it is securely closed, with no gaps or loose edges.


Step 6: Test the Remote

Once the battery is replaced, test the remote to ensure it’s working properly. Stand near your garage door and press the remote button. The garage door should respond by opening or closing. If the remote doesn’t work, double-check the battery placement and ensure the contacts are clean and making a proper connection.


How to Change the Backup Battery in a LiftMaster Garage Opener

In addition to remote control batteries, LiftMaster openers are often equipped with a backup battery that kicks in during power outages. Over time, this battery will wear out and need replacing, usually every 2-3 years.


Step 1: Identify the Backup Battery Location

The backup battery is typically located in the garage door opener unit itself. Most modern LiftMaster models have a battery compartment on the side or bottom of the motor unit.


Step 2: Disconnect the Power

Before replacing the battery, ensure that the garage door opener is not connected to the power supply. Unplug the opener from the electrical outlet to avoid any electrical hazards.


Step 3: Open the Battery Compartment

Locate the battery cover, which is usually secured by a screw or latch. Use a screwdriver to remove the screw and open the battery compartment.


Step 4: Remove the Old Battery

Inside the battery compartment, you will find the old backup battery. Carefully disconnect the wires connected to the battery terminals and remove the old battery from its slot.

Note: LiftMaster backup batteries are typically 12V batteries, but check your model’s specifications to ensure compatibility with the replacement battery.


Step 5: Insert the New Battery

Take your new 12V battery and connect the wires to the terminals (red to positive, black to negative). Ensure that the connections are secure and that the battery is positioned correctly within the compartment.


Step 6: Close the Battery Compartment

Once the new battery is in place, close the battery compartment and secure it with the screw or latch. Double-check to make sure the cover is tightly sealed.


Step 7: Restore Power and Test the Opener

After installing the new battery, plug the garage door opener back into the electrical outlet. Test the garage door to ensure it operates correctly. If you want to check the functionality of the backup battery, temporarily disconnect the power and try operating the door to see if it opens using battery power.


Frequently Asked Questions


1. How often should I replace the battery in my LiftMaster remote?
Typically, the battery in a LiftMaster remote control will last between 1-2 years, depending on usage. If the remote starts losing range or stops working entirely, it’s time to replace the battery.

2. Can I replace the backup battery myself?
Yes, replacing the backup battery in a LiftMaster garage opener is a simple DIY task. Just ensure that you purchase the correct 12V backup battery and follow the instructions above.

3. How do I know when the backup battery needs to be replaced?
Most LiftMaster models with a backup battery will have an indicator light or alert system that notifies you when the battery is low or needs replacement.


Conclusion

Changing the battery in a LiftMaster garage door opener, whether it's the remote control or the backup battery, is an easy and quick task. With the right tools and a few simple steps, you can ensure that your garage door opener continues to function smoothly and reliably. By following this guide, you’ll be able to replace your batteries with confidence and keep your LiftMaster system in top shape.

You might also like

Fix N Go Blog

How To Fix A Squeaky Automatic Garage Door?
By Rabia Tingat February 21, 2025
Stop your automatic garage door from squeaking with these quick and easy maintenance tips. Say goodbye to irritating noises today!
How Long Do Automatic Garage Door Openers Last?
By Rabia Tingat February 20, 2025
Automatic garage door openers have become a staple in modern homes, offering convenience, security, and efficiency. However, like any mechanical system, they do not last forever. If you are wondering, how long do automatic garage door openers last, the answer depends on various factors, including usage, maintenance, and the quality of the opener itself. In this article, we’ll explore the average lifespan of garage door openers, signs that indicate it’s time for a replacement, and tips to extend their longevity. Average Lifespan of an Automatic Garage Door Opener On average, an automatic garage door opener lasts between 10 to 15 years. However, with proper maintenance and minimal wear and tear, some openers can function efficiently for up to 20 years. The lifespan of a garage door opener depends on: Usage frequency – The more you use it, the quicker it wears out. Maintenance – Regular servicing can prolong its life. Quality of the opener – Higher-end models tend to last longer. Environmental factors – Harsh weather conditions can impact longevity. For homeowners who use their garage doors multiple times a day, the opener may wear out faster than the average lifespan. Factors That Affect the Lifespan of a Garage Door Opener 1. Frequency of Use Every garage door opener has a motor and internal gears that undergo stress each time the door opens and closes. If your garage is the primary entrance to your home, daily use can shorten its lifespan. A standard garage door opener is designed to last about 10,000 cycles (one cycle = opening and closing). If you open and close your garage door twice a day, it could last around 13–15 years. However, if you use it more frequently, the lifespan may be closer to 8–10 years. 2. Quality of the Opener Not all garage door openers are created equal. Cheaper models may last around 8–10 years, while premium brands with advanced technology and durable parts can last well beyond 15 years. 3. Maintenance and Repairs Routine garage door maintenance plays a significant role in longevity. Lubricating moving parts , tightening loose hardware, and ensuring the safety sensors are clean can prevent wear and tear. Without regular maintenance, components like springs, chains, and belts can wear out faster, forcing the motor to work harder—ultimately reducing its lifespan. 4. Weather and Environmental Conditions Extreme weather conditions, such as high humidity, freezing temperatures, or excessive heat, can impact the opener’s performance. Cold weather can cause metal components to contract, making the opener work harder. High humidity can lead to rust and corrosion, affecting internal parts. Extreme heat can damage the circuit board inside the opener. If you live in an area with harsh weather, investing in a weather-resistant garage door opener can help extend its lifespan. 5. Power Surges and Electrical Issues Frequent power surges or poor electrical wiring can damage the opener’s circuit board. Using a surge protector can help prevent unexpected failures due to voltage spikes. Signs It’s Time to Replace Your Garage Door Opener Even if your garage door opener is still working, certain signs indicate that it may need a replacement soon: 1. Slow or Noisy Operation: If your garage door moves slower than usual or starts making loud grinding or rattling noises, it could mean the motor or internal gears are wearing out. 2. Inconsistent Performance: Does your garage door opener sometimes refuse to respond? If you notice delays or frequent malfunctions, the circuit board or motor may be failing. 3. Outdated Safety Features: Older garage door openers lack modern safety features like rolling code technology, motion sensors, and smartphone integration. If your opener is more than 15 years old, consider upgrading to a newer, safer model. 4. Increased Maintenance Costs: If you find yourself constantly repairing the opener, it may be more cost-effective to replace it with a newer model rather than spending money on frequent repairs. 5. Random Opening and Closing: If your garage door opens or closes on its own, it could be due to a malfunctioning circuit board or interference from nearby signals. This can pose a security risk, so replacing it may be the best solution. How to Extend the Lifespan of Your Garage Door Opener Want to make your garage door opener last as long as possible? Follow these maintenance tips: 1. Lubricate Moving Parts: Apply garage door lubricant to the chains, rollers, and hinges every 6 months to reduce friction and wear. 2. Tighten Hardware Regularly: Over time, bolts and screws may loosen. Inspect and tighten them annually to ensure smooth operation. 3. Test the Safety Features: Ensure that the auto-reverse mechanism and photo-eye sensors are working properly. Place an object in the door’s path to see if it stops and reverses as it should. 4. Replace Worn-Out Parts Promptly: If you notice frayed belts, worn-out chains, or weak springs, replace them before they break completely. 5. Keep the Tracks Clean: Dirt and debris can cause misalignment. Clean the garage door tracks regularly to prevent operational issues. 6. Install a Surge Protector: A surge protector prevents damage from unexpected power surges, helping to protect the opener’s circuit board. Final Thoughts So, how long do automatic garage door openers last? The typical lifespan is 10 to 15 years, but with proper maintenance, some can last up to 20 years. If your opener is showing signs of wear, struggles to function properly, or lacks modern safety features, it may be time for an upgrade. By following preventative maintenance tips, you can extend its lifespan and avoid unexpected failures. Invest in a high-quality garage door opener, maintain it regularly, and enjoy years of hassle-free operation!
How Do Automatic Garage Doors Work?
By Rabia Tingat February 18, 2025
How do automatic garage doors operate? Explore the technology, from remote control signals to motorized lifting, and understand why they’re a must-have.
More Posts
Share by: