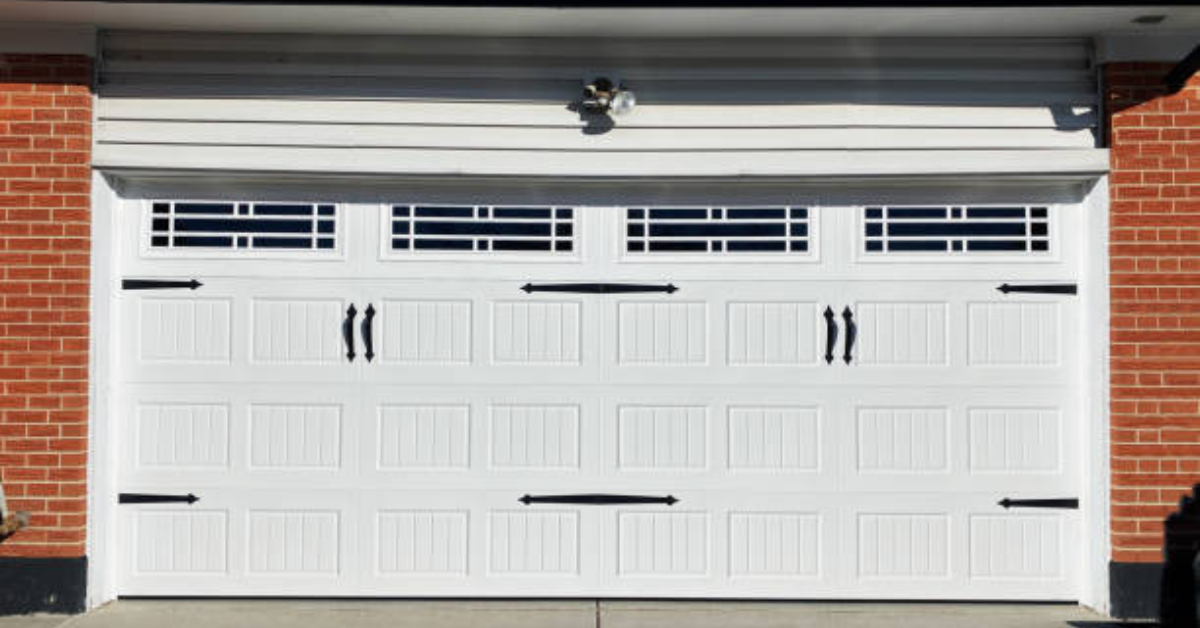
How To Install A Clopay Garage Door?
Installing a Clopay garage door is a project that can greatly enhance the curb appeal and functionality of your home. While it may seem like a complex task, with the right tools and careful attention to detail, you can complete the installation successfully. This guide will walk you through the steps to install a Clopay garage door in an easy-to-understand manner.
Tools You’ll Need:
Before you begin, gather the following tools to make the process smoother:
- Socket wrench set
- Drill with bits
- Phillips and flathead screwdrivers
- Measuring tape
- Stepladder
- Hammer
- Level
- Pliers
- Safety glasses and gloves
Step 1: Prepare the Workspace
Before you start installing your new garage door, clear the area around the garage to ensure you have enough space to work. Make sure you have your new Clopay garage door kit on hand, which should include panels, tracks, springs, and all the necessary hardware.
Next, ensure the garage door opening is level and properly framed. If this isn’t done correctly, the door may not function smoothly. Double-check the measurements of the door opening and compare them to the dimensions of the Clopay door you purchased to confirm a proper fit.
Step 2: Remove the Old Garage Door
If you're replacing an existing garage door, you will first need to remove it. Here’s how:
- Disconnect the door opener (if there is one) by pulling the emergency release cord.
- Carefully remove the door panels by loosening the screws or bolts holding them in place. Start at the top and work your way down, ensuring each panel is removed safely.
- Remove the old tracks by unscrewing them from the wall and ceiling.
- Take off the old springs carefully, as they may still be under tension. It’s essential to follow safety instructions during this process to avoid injury.
Step 3: Install the Bottom Bracket and Weatherstripping
Now that the old door is removed, start by installing the weatherstripping to the bottom of the new garage door. This helps keep out dust, debris, and drafts, ensuring a better seal when the door is closed.
Next, attach the bottom brackets to the bottom panel of the door. These brackets hold the cables in place, which are essential for the door’s lifting mechanism.
Step 4: Assemble the Tracks
Unbox and lay out the tracks from your Clopay garage door kit. These tracks guide the door as it opens and closes, so they must be installed precisely.
- Attach the vertical tracks to either side of the door opening, ensuring they are level. Use a level to check that the tracks are straight before securing them to the wall with brackets.
- Install the curved sections of the track, which guide the door as it transitions from vertical to horizontal motion.
- Connect the horizontal tracks, which run along the ceiling, to complete the frame that the door will roll through.
Make sure all the tracks are aligned and secure, as any misalignment can cause the door to malfunction.
Step 5: Install the Door Panels
Clopay garage doors typically come in sections or panels, and installing them correctly is key to the door’s smooth operation.
- Begin with the bottom panel and place it in the doorway. Use shims to hold it in place, ensuring it is level. If the bottom panel is crooked, the entire door will be misaligned.
- Attach the hinges to the top of the bottom panel and then add the next panel on top. Continue this process, attaching each panel to the one below it with hinges and securing them to the tracks.
- Ensure that each panel is properly aligned and that the door remains level throughout the process.
Step 6: Install the Springs
Installing the springs is a critical step, as they support the weight of the door, making it easy to open and close. Clopay doors use either torsion or extension springs, depending on the model.
- Torsion springs are mounted above the door, while extension springs are installed along the sides.
- Follow the instructions provided with your garage door kit to install the springs correctly, ensuring they are tensioned appropriately. Improper installation can lead to malfunction or injury, so proceed with caution.
If you are unfamiliar with handling garage door springs, it is recommended to seek professional assistance for this step due to the potential danger involved.
Step 7: Attach the Lift Cables
With the springs in place, the next step is to install the lift cables. These cables help lift and lower the garage door, working in conjunction with the springs. Attach the cables to the bottom brackets and then wind them around the drums located at the ends of the torsion shaft (if using torsion springs).
Ensure the cables are properly tensioned and secured, as loose cables can cause the door to become unbalanced.
Step 8: Install the Garage Door Opener (Optional)
If you are installing a garage door opener, now is the time to attach it to the ceiling above the garage door. Follow the manufacturer’s instructions for the specific opener model, ensuring it is aligned with the center of the door for smooth operation.
Step 9: Test the Door
Before you finish, test the garage door by manually opening and closing it a few times to ensure everything is working smoothly. The door should move without resistance and remain balanced in different positions. If the door feels heavy or difficult to lift, the springs may need to be adjusted.
Step 10: Final Adjustments
Once everything is installed and working, make any necessary adjustments to the springs, tracks, or opener to ensure optimal performance. Tighten any loose bolts and ensure all components are secure.
Conclusion
Installing a Clopay garage door may take some time, but by following these steps carefully, you can have a functional and reliable garage door. Always prioritize safety, especially when working with springs and heavy panels, and don't hesitate to call in a professional if needed. With the door properly installed, you’ll enjoy improved security, convenience, and curb appeal for your home.


