How To Program Genie Garage Door Opener?

Rabia Tingat • August 23, 2024

Programming a Genie garage door opener may seem challenging, but with the right instructions, it can be a simple process. Whether you're setting up a new remote or reprogramming an existing one, this guide will walk you through each step to ensure your garage door opener is working correctly. A properly programmed Genie garage door opener enhances home security, convenience, and functionality.


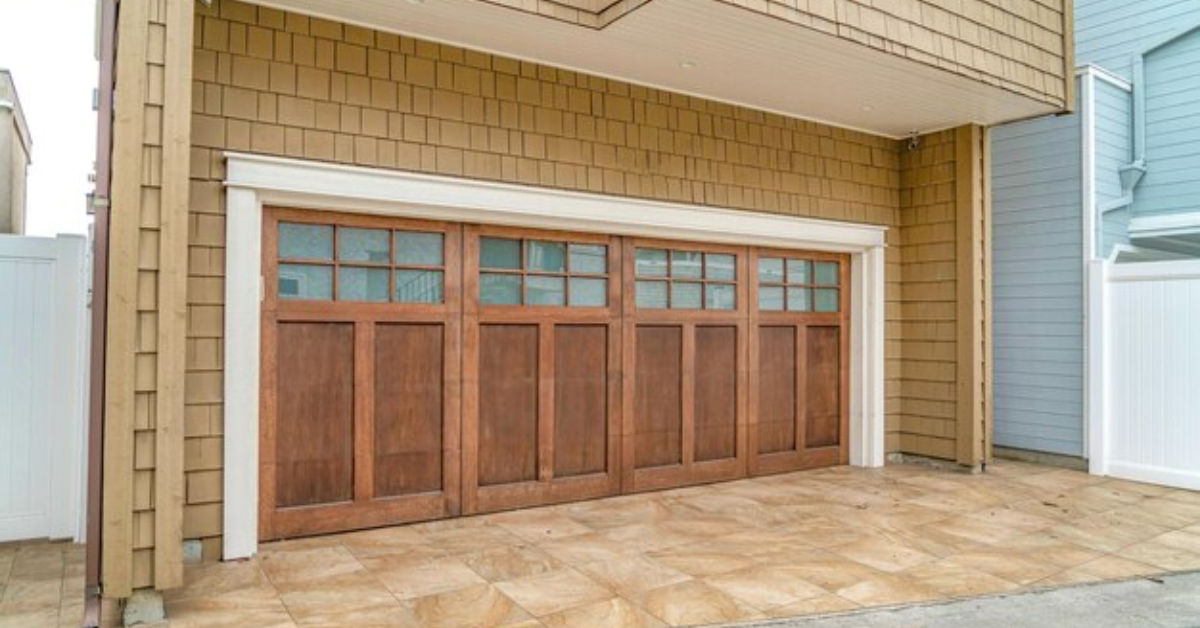
How to Use Your Genie Garage Door Opener


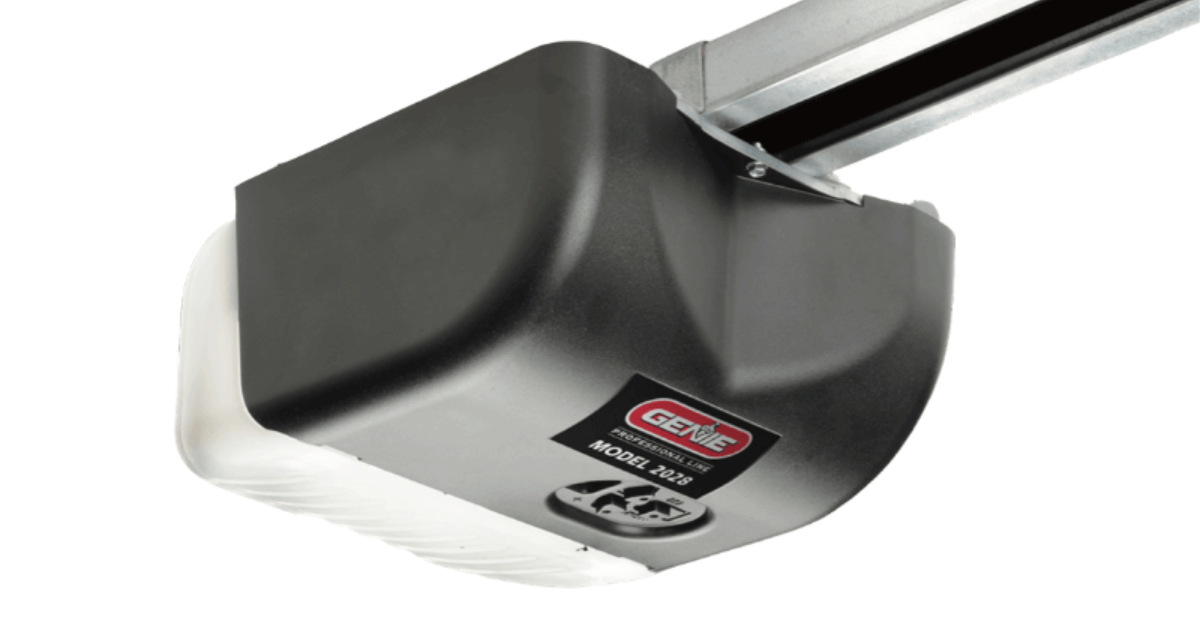
Before diving into the programming steps, it’s essential to understand the components of your Genie garage door opener. Most Genie models consist of a motor unit attached to the ceiling of your garage, a wall-mounted control panel, and one or more remote controls. Some models also include wireless keypads for entry without a remote.


Each Genie garage door opener comes with a unique frequency to ensure that only your remotes can operate the door. The programming process involves syncing these remotes with the motor unit, allowing you to control the door from a distance.


Preparing to Program Your Genie Garage Door Opener


Before you start programming, gather all the necessary equipment, including the Genie remote control and a ladder if the motor unit is mounted high on the ceiling. Make sure the area around the garage door is clear of obstructions, and ensure that the opener is plugged in and functioning properly.


Familiarize yourself with the “Learn” button on the motor unit, as this is the key component you’ll use to program the remote. Depending on the model, the “Learn” button may be located on the back or side of the motor unit and is usually colored red, green, or purple.


Step-by-Step Guide to Programming a Genie Garage Door Opener


1. Locate the “Learn” Button: The first step in programming your Genie garage door opener is to locate the “Learn” button on the motor unit. This button is usually near the antenna wire that hangs from the unit. Press and release the “Learn” button; a light will typically flash to indicate that the unit is ready to be programmed.


2. Prepare the Remote Control: Once the motor unit is in programming mode, grab the Genie remote control you wish to program. Press and hold the button on the remote that you want to use to operate the garage door. Hold the button down until the indicator light on the motor unit stops flashing or turns solid, indicating that the remote has been successfully programmed.


3. Test the Remote Control: After programming, test the remote control by pressing the button you just programmed. The garage door should respond by opening or closing. If the door does not move, repeat the programming steps to ensure that the remote was synced correctly.


4. Program Additional Remotes (If Needed): If you have multiple Genie remotes, you can program them using the same process. Repeat the steps above for each remote, ensuring that the motor unit is put into programming mode each time.


5. Program the Wall-Mounted Keypad (Optional): If your Genie garage door opener includes a wireless keypad, you can program it after setting up the remotes. To do this, press the “Learn” button on the motor unit to put it into programming mode. Next, enter your desired PIN on the keypad and press the “Send” or “Enter” button. The keypad should now be synced with the garage door opener, allowing you to operate the door by entering the PIN.


6. Reprogramming After a Power Outage or Battery Replacement: In some cases, you may need to reprogram your Genie garage door opener after a power outage or when replacing the remote’s battery. Follow the same steps outlined above to reprogram the remote. If you encounter any issues, consult the Genie user manual or contact customer support for assistance.


Troubleshooting Common Issues


Programming a Genie garage door opener is usually straightforward, but you may encounter some issues along the way. Here are some common problems and their solutions:


  • Remote Not Responding: If the remote does not operate the garage door after programming, check the batteries to ensure they are not dead or weak. Also, make sure you are within range of the motor unit when pressing the remote button.
  • Learn Button Not Working: If pressing the “Learn” button does not put the motor unit into programming mode, unplug the unit for a few minutes and then plug it back in to reset the system.
  • Keypad Not Syncing: If the wireless keypad does not program correctly, make sure you are entering the correct PIN and that the keypad is within range of the motor unit. Also, check the keypad’s batteries to ensure they are functioning properly.
  • Multiple Remotes Interfering: If you have multiple remotes and they interfere with each other, try programming each remote separately, ensuring that only one remote is in range of the motor unit at a time.


Maintaining Your Genie Garage Door Opener


Regular maintenance of your Genie garage door opener can prevent issues and extend the life of the system. Ensure that the motor unit is free from dust and debris, and periodically check the condition of the remote controls and keypad. If you experience consistent problems with programming, consider contacting a professional service, such as Fix N' Go, who can offer expert assistance and ensure your system is functioning optimally.


Conclusion


Programming your Genie garage door opener is a relatively simple process that can enhance your home’s security and convenience. By following the step-by-step instructions provided, you can easily program your remote controls, wall-mounted keypad, and ensure that your garage door operates smoothly. Regular maintenance and troubleshooting can help address any issues that arise, keeping your system in top condition. If you need additional support, professional services like Clean Air Pros FL are available to provide expert assistance, ensuring your Genie garage door opener remains reliable and efficient.

You might also like

Fix N Go Blog

How To Fix A Squeaky Automatic Garage Door?
By Rabia Tingat February 21, 2025
Stop your automatic garage door from squeaking with these quick and easy maintenance tips. Say goodbye to irritating noises today!
How Long Do Automatic Garage Door Openers Last?
By Rabia Tingat February 20, 2025
Automatic garage door openers have become a staple in modern homes, offering convenience, security, and efficiency. However, like any mechanical system, they do not last forever. If you are wondering, how long do automatic garage door openers last, the answer depends on various factors, including usage, maintenance, and the quality of the opener itself. In this article, we’ll explore the average lifespan of garage door openers, signs that indicate it’s time for a replacement, and tips to extend their longevity. Average Lifespan of an Automatic Garage Door Opener On average, an automatic garage door opener lasts between 10 to 15 years. However, with proper maintenance and minimal wear and tear, some openers can function efficiently for up to 20 years. The lifespan of a garage door opener depends on: Usage frequency – The more you use it, the quicker it wears out. Maintenance – Regular servicing can prolong its life. Quality of the opener – Higher-end models tend to last longer. Environmental factors – Harsh weather conditions can impact longevity. For homeowners who use their garage doors multiple times a day, the opener may wear out faster than the average lifespan. Factors That Affect the Lifespan of a Garage Door Opener 1. Frequency of Use Every garage door opener has a motor and internal gears that undergo stress each time the door opens and closes. If your garage is the primary entrance to your home, daily use can shorten its lifespan. A standard garage door opener is designed to last about 10,000 cycles (one cycle = opening and closing). If you open and close your garage door twice a day, it could last around 13–15 years. However, if you use it more frequently, the lifespan may be closer to 8–10 years. 2. Quality of the Opener Not all garage door openers are created equal. Cheaper models may last around 8–10 years, while premium brands with advanced technology and durable parts can last well beyond 15 years. 3. Maintenance and Repairs Routine garage door maintenance plays a significant role in longevity. Lubricating moving parts , tightening loose hardware, and ensuring the safety sensors are clean can prevent wear and tear. Without regular maintenance, components like springs, chains, and belts can wear out faster, forcing the motor to work harder—ultimately reducing its lifespan. 4. Weather and Environmental Conditions Extreme weather conditions, such as high humidity, freezing temperatures, or excessive heat, can impact the opener’s performance. Cold weather can cause metal components to contract, making the opener work harder. High humidity can lead to rust and corrosion, affecting internal parts. Extreme heat can damage the circuit board inside the opener. If you live in an area with harsh weather, investing in a weather-resistant garage door opener can help extend its lifespan. 5. Power Surges and Electrical Issues Frequent power surges or poor electrical wiring can damage the opener’s circuit board. Using a surge protector can help prevent unexpected failures due to voltage spikes. Signs It’s Time to Replace Your Garage Door Opener Even if your garage door opener is still working, certain signs indicate that it may need a replacement soon: 1. Slow or Noisy Operation: If your garage door moves slower than usual or starts making loud grinding or rattling noises, it could mean the motor or internal gears are wearing out. 2. Inconsistent Performance: Does your garage door opener sometimes refuse to respond? If you notice delays or frequent malfunctions, the circuit board or motor may be failing. 3. Outdated Safety Features: Older garage door openers lack modern safety features like rolling code technology, motion sensors, and smartphone integration. If your opener is more than 15 years old, consider upgrading to a newer, safer model. 4. Increased Maintenance Costs: If you find yourself constantly repairing the opener, it may be more cost-effective to replace it with a newer model rather than spending money on frequent repairs. 5. Random Opening and Closing: If your garage door opens or closes on its own, it could be due to a malfunctioning circuit board or interference from nearby signals. This can pose a security risk, so replacing it may be the best solution. How to Extend the Lifespan of Your Garage Door Opener Want to make your garage door opener last as long as possible? Follow these maintenance tips: 1. Lubricate Moving Parts: Apply garage door lubricant to the chains, rollers, and hinges every 6 months to reduce friction and wear. 2. Tighten Hardware Regularly: Over time, bolts and screws may loosen. Inspect and tighten them annually to ensure smooth operation. 3. Test the Safety Features: Ensure that the auto-reverse mechanism and photo-eye sensors are working properly. Place an object in the door’s path to see if it stops and reverses as it should. 4. Replace Worn-Out Parts Promptly: If you notice frayed belts, worn-out chains, or weak springs, replace them before they break completely. 5. Keep the Tracks Clean: Dirt and debris can cause misalignment. Clean the garage door tracks regularly to prevent operational issues. 6. Install a Surge Protector: A surge protector prevents damage from unexpected power surges, helping to protect the opener’s circuit board. Final Thoughts So, how long do automatic garage door openers last? The typical lifespan is 10 to 15 years, but with proper maintenance, some can last up to 20 years. If your opener is showing signs of wear, struggles to function properly, or lacks modern safety features, it may be time for an upgrade. By following preventative maintenance tips, you can extend its lifespan and avoid unexpected failures. Invest in a high-quality garage door opener, maintain it regularly, and enjoy years of hassle-free operation!
How Do Automatic Garage Doors Work?
By Rabia Tingat February 18, 2025
How do automatic garage doors operate? Explore the technology, from remote control signals to motorized lifting, and understand why they’re a must-have.
More Posts
Share by: